Kvalitní měřicí technika pro kontrolu kvality v měřicí místnosti, výrobě, příjmu zboží nebo v
Gear Metering Pumps & Meter Mix Dispense Machines with highest accuracy for processing liquids and pastes.
High-precision rotary stroke bearings for backlash-free linear and rotational movements for use in machine and device construction.


Inovativní měřicí technika pro širokou škálu aplikací:
- • Délka a průměr
- • Povrch a kontura
- • Tvar a poloha
- • Ozubení a hřídele

Přesné míchání a dávkování kapalin a past:
- • Zubová dávkovací čerpadla
- • Čerpadla pro výrobu vláken
- • Míchací a dávkovací stroje a míchací hlavy

Kuličková vedení pro lineární a otočné pohyby bez vůle v oborech:
- • strojírenství
- • přesná mechanika
- • optika
- • elektronika
- • a v mnoha dalších oborech


Mahr jako mezinárodně působící společnost vlastní své patenty nejen v Německu, ale po celém světě.
Measuring gears in a different way

The aim of this measuring principle is to test how well gears mesh or work together. To do this, two gears rotate away from each other in the measuring machine. The tooth flanks, i.e. the internal diagonal lateral contours of the gears that touch each other on the pitch circle, are tested. The more balanced they run, the less noise they cause in gearboxes.

Measuring the relative movements
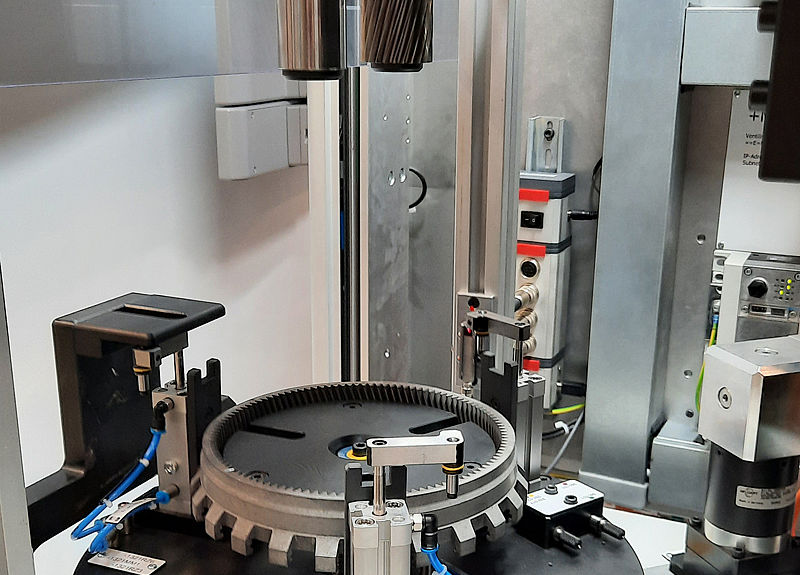
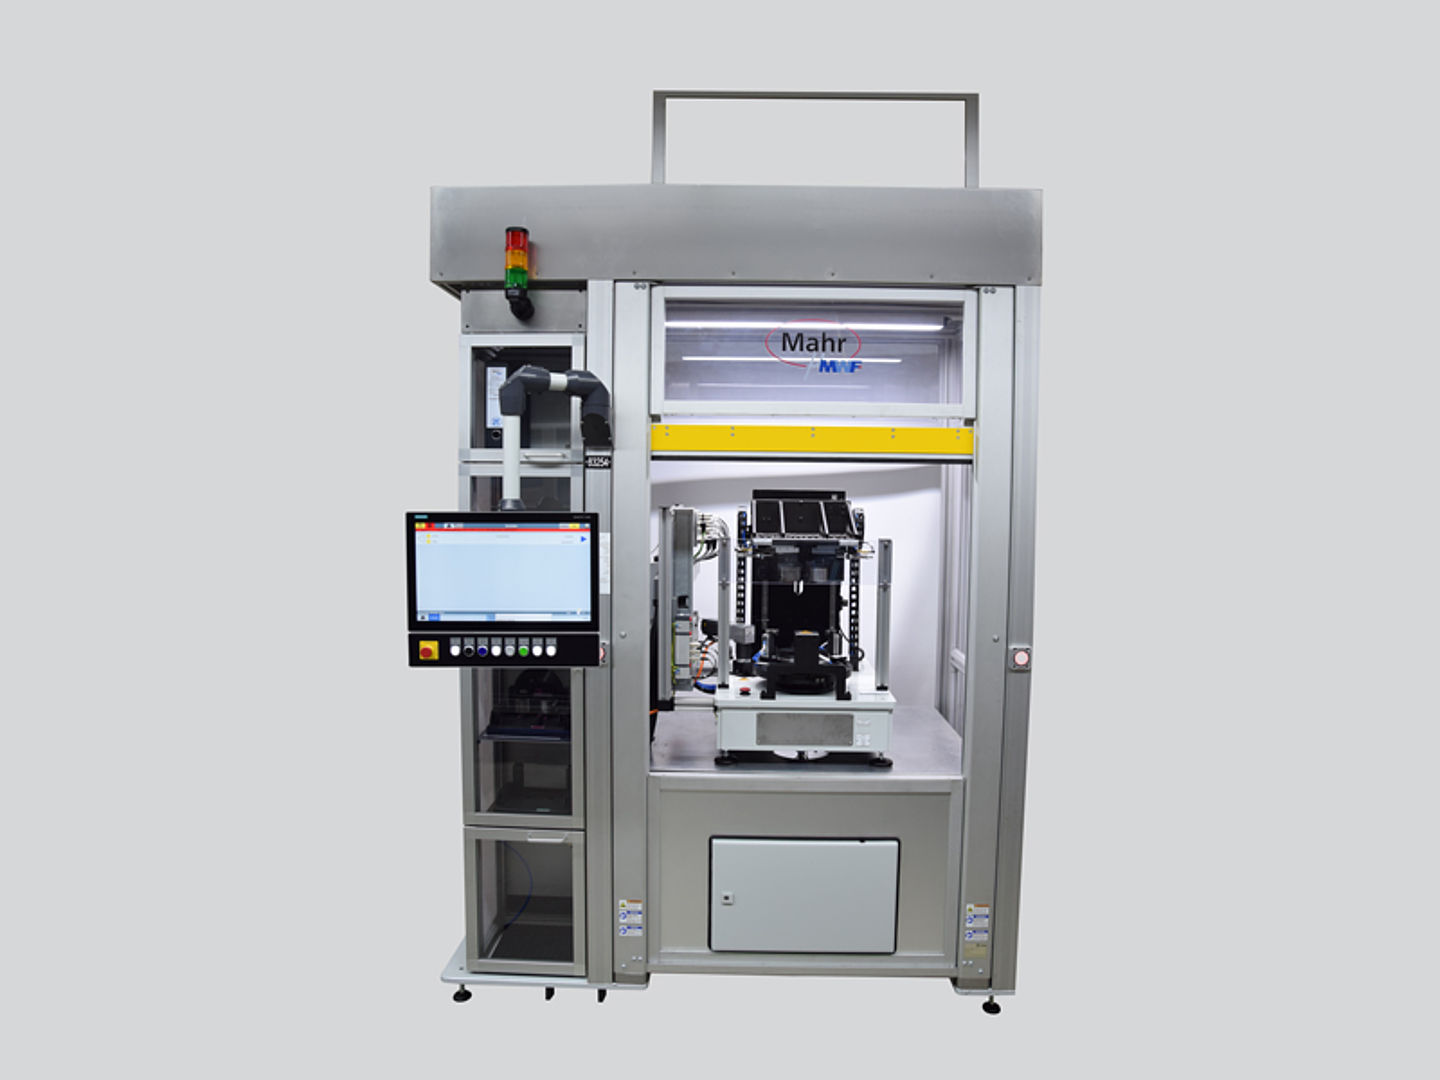
The measuring machine for double flank gear testing consists of a rotating measuring table with clamping device and a tactile measuring system. The gear wheel to be measured is clamped on the measuring table and rotated around its own axis. A second gear, a so-called master gear, is then used. This is a high-precision component that is the ideal counterpart to the workpiece to be tested. This master gear is adjusted on a special slide and is pressed into the test piece via a spring. A dynamic measurement is carried out by rotating the component holder 360 degrees, with the master gear moving with it.
The master gear makes linear relative movements as it plunges during the 360-degree rotation. These can be detected tactilely: a measuring probe is permanently in contact with the carriage that moves the master gear and records the relative movements. The probe deflections in the micrometer range are in turn recorded and converted by the MarWin software: A Fourier analysis determines the fundamental oscillation and thus evaluates the entire measurement. This ultimately provides the customer with a meaningful measurement result, including graphical visualization, with which they can work practically.
The following video illustrates the measurement process:
Advantages of the measurement method
"Our double flank rolling test is a particularly realistic measurement that simulates the behavior of the gears in subsequent operation," explains engineer David Hagel, Head of Design & Mechanical Engineering at Mahr MWF. The customer can measure very quickly: The result is available after only around 45 seconds. The measuring process records every single tooth of the component in order to determine the run-out deviation Fr''. And finally, the MWF measuring solution can be used universally and is very flexible, as various set-up sets ensure that different gears can be measured.
Are you interested in a customized measuring solution from Mahr MWF? Then please contact our experts directly at info-mwf@mahr.com.
