High-quality metrology for quality control in the measuring room, production, incoming goods and development.
Gear Metering Pumps & Meter Mix Dispense Machines with highest accuracy for processing liquids and pastes.
High-precision rotary stroke bearings for backlash-free linear and rotational movements for use in machine and device construction.


Innovative metrology for a wide range of applications:
- • Length and diameter
- • Surface and contour
- • Form and position
- • Gears and shafts

Precise mixing and metering of liquids and pastes:
- • Gear metering pumps
- • Pumps for fiber production
- • Meter mix dispense machines as well as mixing heads

Rotary stroke bearings for backlash-free linear and rotary movements in:
- • Mechanical engineering
- • Precision engineering
- • Optik
- • Electronics
- • and many other industries


As an internationally active company, Mahr holds its patents not only in Germany, but worldwide.
2 in 1: Simultaneous automated measurement of roughness and contour

Its probe arm unit only records the measurement data once, which the software can then evaluate twice for both contour and roughness features, if required. This saves customers twice: on the one hand, time, as they receive two measurement results with just one measurement run; on the other hand, money, as they only have to invest in one measuring station.
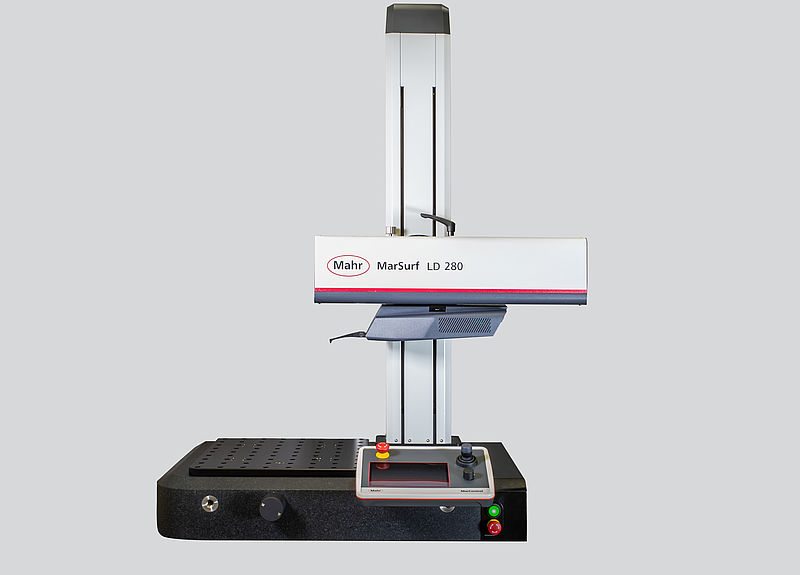
The MarSurf LD 140/LD 280 measures workpiece contours, straightness and surface deviations using the stylus method. It is available with two different X-axes - travel and measuring path 140 or 280 millimetres – with manual or motorized TY-axis as well as with a Z-axis in two heights. The combination of these features results in eight device variants with different degrees of automation. This means that the customer can always select the measuring station that best suits their individual requirements. The comprehensive portfolio of probe arms of different sizes and designs also qualifies the MarSurf LD 140/LD 280 for a wide range of measuring tasks at different measuring points. For geometry measurements, the probe arms guarantee maximum safety and precision thanks to their high rigidity.
Industries and application examples
Wherever users want to evaluate small tolerances in the micrometer range or larger tolerances in a very small area, the MarSurf LD 140/LD 280 is the device of choice. Typical measuring tasks can be found
- in the automotive industry, for example crankshafts, camshafts, connecting rods, engine or transmission components
- in mechanical engineering, for example bearing raceways or hydraulic components with very small and precise edge breaks
- in the aviation industry, for example turbine components and
- in the optical industry, in particular lenses and aspheres.
As the tolerances for the measurements performed are usually very small, it is advisable to set up the device in an air-conditioned measuring room.
Further advantageous features
Additional features make the MarSurf LD 140/LD 280 a future-proof, state-of-the-art investment:
- The device has extremely fast and precise positioning axes.
- Thanks to the large flexible grid plate, clamping positions are reproducible, which shortens set-up times.
- The probe arm unit can be easily changed manually without tools as it is magnetically attached to the probe system.
- A chip integrated in the probe arm ensures that the probe arm is recognized without confusion and that the probe force is set automatically.
- Operation is via the tried-and-tested MarWin software or the improved MarControl manual control panel connected to the control unit.
- The software has a wizard for calibrating the probe arms which, in combination with a motorized TY axis, increases user-friendliness.
