
High-quality metrology for quality control in the measuring room, production, incoming goods and development.
Gear Metering Pumps & Meter Mix Dispense Machines with highest accuracy for processing liquids and pastes.
High-precision rotary stroke bearings for backlash-free linear and rotational movements for use in machine and device construction.


Innovative metrology for a wide range of applications:
- • Length and diameter
- • Surface and contour
- • Form and position
- • Gears and shafts

Precise mixing and metering of liquids and pastes:
- • Gear metering pumps
- • Pumps for fiber production
- • Meter mix dispense machines as well as mixing heads

Rotary stroke bearings for backlash-free linear and rotary movements in:
- • Mechanical engineering
- • Precision engineering
- • Optik
- • Electronics
- • and many other industries


As an internationally active company, Mahr holds its patents not only in Germany, but worldwide.
3D Metrology: Easy analysis of surfaces
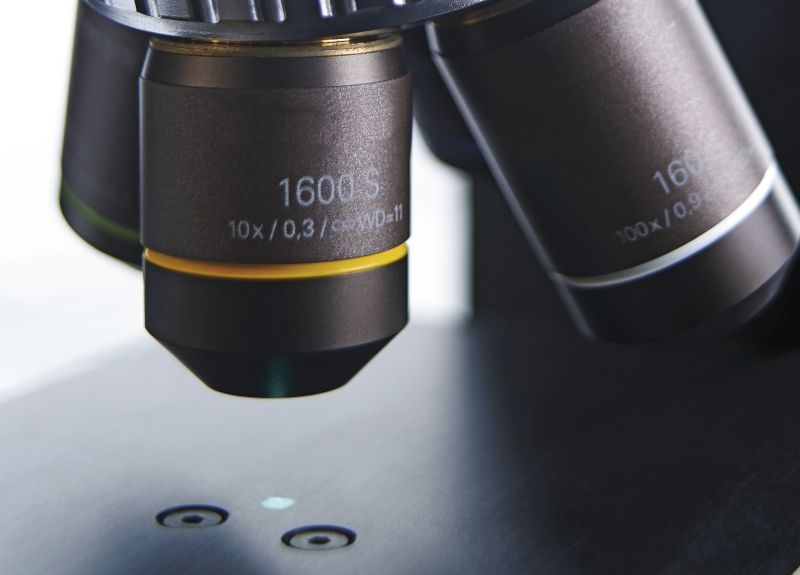
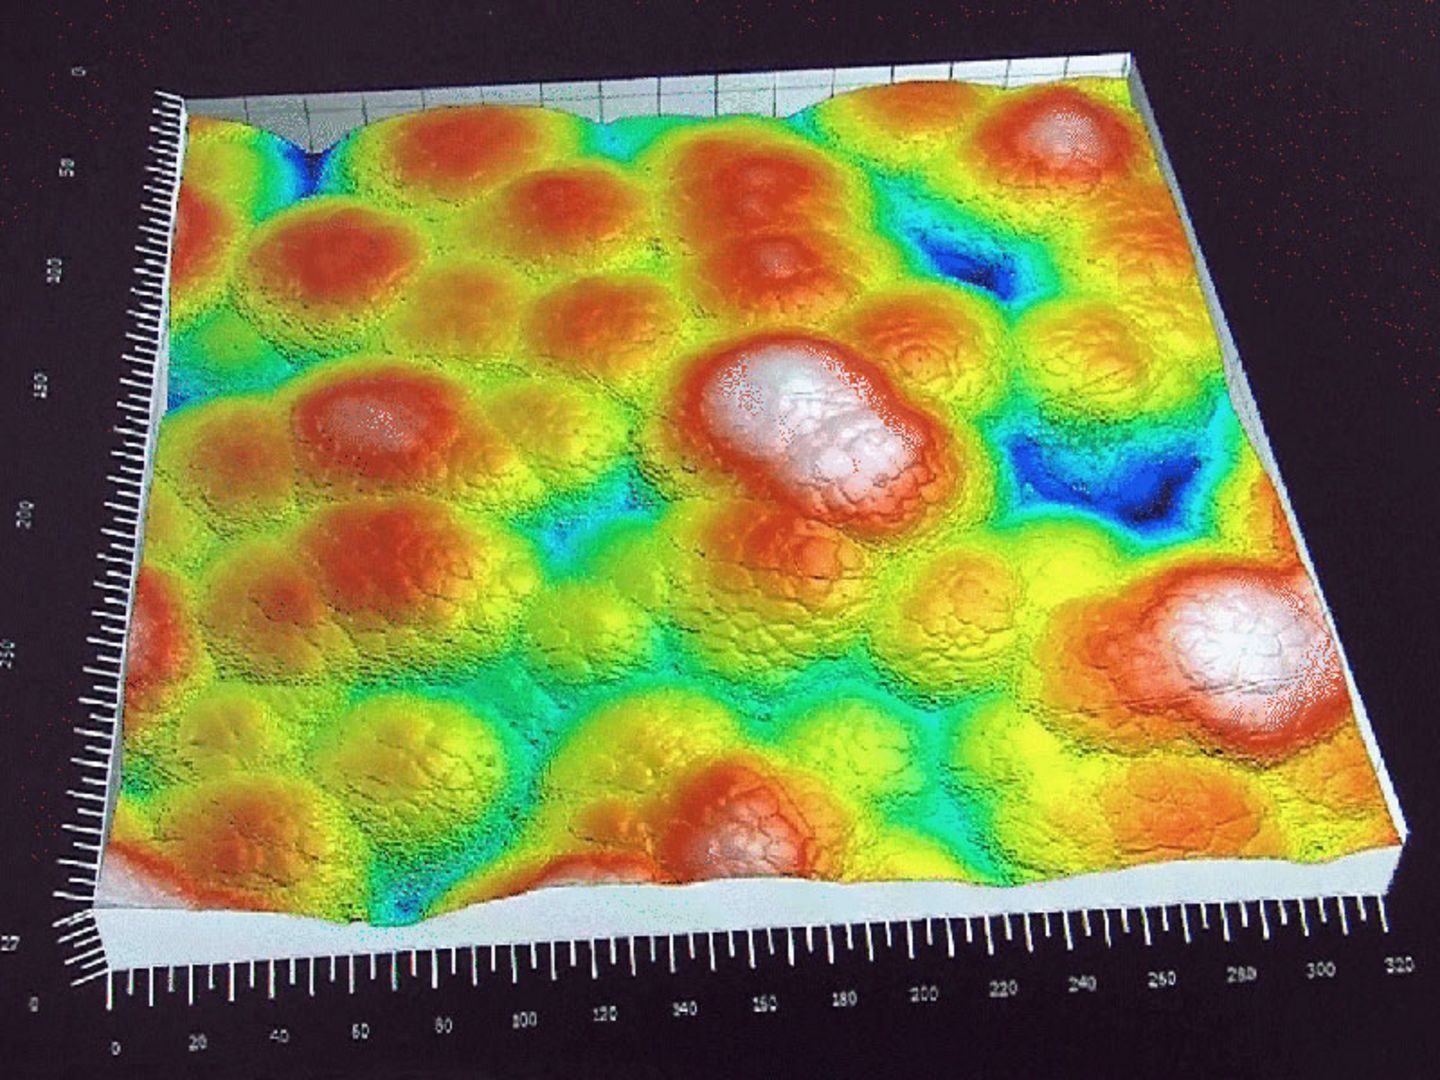
Application Case 1: Measuring roughness and microgeometry on dental implants
The surface texture plays a central role in dental implants. The miniature components must meet specific requirements in order to be able to integrate into the jaw quickly, without complications and permanently. Continuous measurement of 3D surface roughness during the manufacturing process is required to ensure adherence to specified roughness tolerances. In addition, it is important to check the surface geometries.
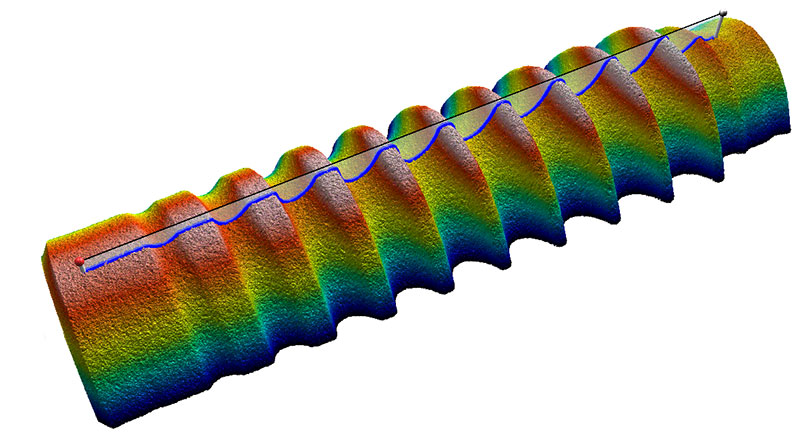
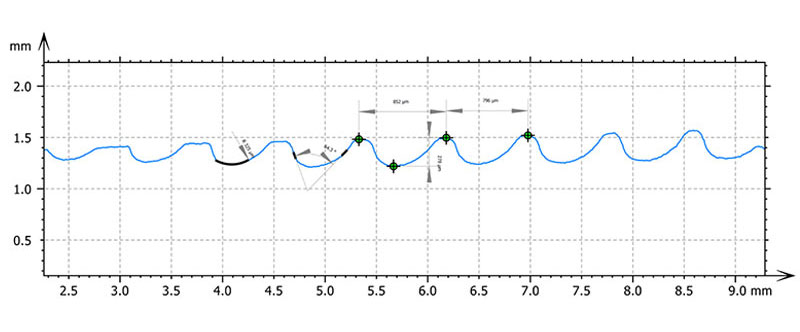
The confocal 3D measuring system MarSurf explorer is ideal for both measurement tasks: it is suitable for testing extremely rough and fissured surfaces where tactile measurement technology often fails. Even on steep flanks, such as on the thread of a dental implant, the measuring microscope provides accurate and repeatable measurement results. The measurement takes only about 5 to 10 seconds. The result is standardized, reproducible 3D characteristics with which the quality-critical processes can be safely controlled.
Application Case 2: Determining the roughness of sandblasted surfaces
If a surface is to have a certain texture, appearance or fit, it can be changed by sandblasting, for example. Structurally modified surfaces can be found almost everywhere – from frosted glass panes to gearbox parts made of metal, during which the lower-strength layers have been removed in the course of production.
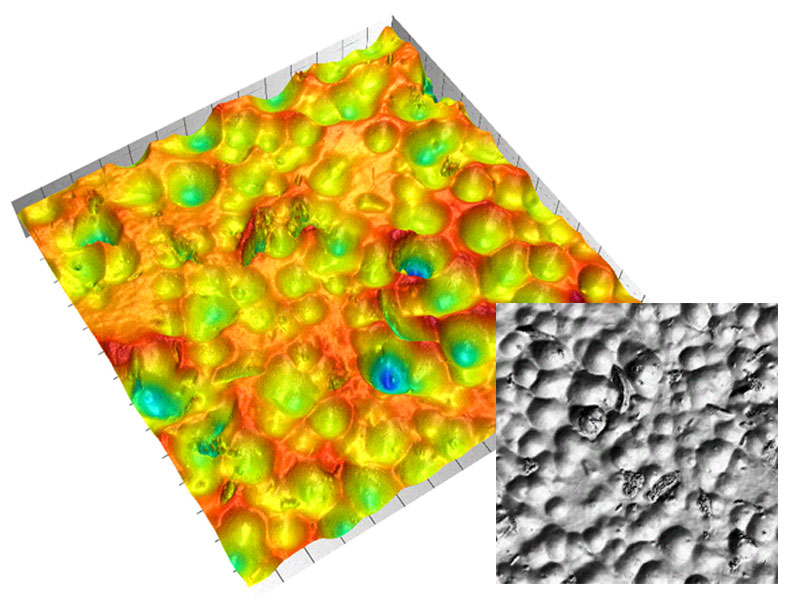
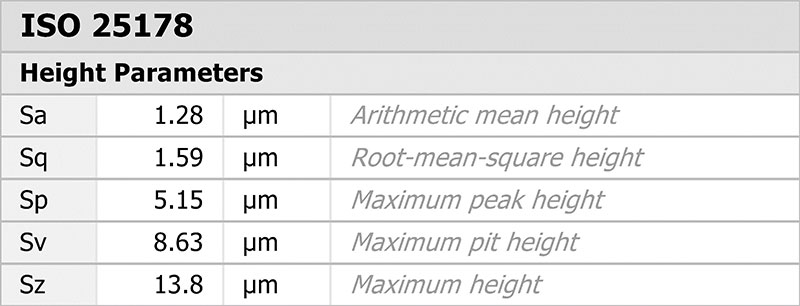
When a surface is sandblasted, in addition to the roughness, in particular the texture direction, the bearing components and the peak density change. These very individual, sometimes arbitrary parameters have a major impact on the function or visual appearance. In order to meet them in terms of quality assurance, the highly complex condition must be analyzed on the individual workpiece by means of optical 3D measurement, for example from the MarSurf CM series. With the confocal measuring technique, deep structures in the centimeter to nanometer range can be detected – results that are not achievable with a tactile or optical 2D measurement.
