High-quality metrology for quality control in the measuring room, production, incoming goods and development.
Gear Metering Pumps & Meter Mix Dispense Machines with highest accuracy for processing liquids and pastes.
High-precision rotary stroke bearings for backlash-free linear and rotational movements for use in machine and device construction.


Innovative metrology for a wide range of applications:
- • Length and diameter
- • Surface and contour
- • Form and position
- • Gears and shafts

Precise mixing and metering of liquids and pastes:
- • Gear metering pumps
- • Pumps for fiber production
- • Meter mix dispense machines as well as mixing heads

Rotary stroke bearings for backlash-free linear and rotary movements in:
- • Mechanical engineering
- • Precision engineering
- • Optik
- • Electronics
- • and many other industries


As an internationally active company, Mahr holds its patents not only in Germany, but worldwide.
Determination of centering errors and tilting of aspheres


Software package MarWin Aspheric 3D
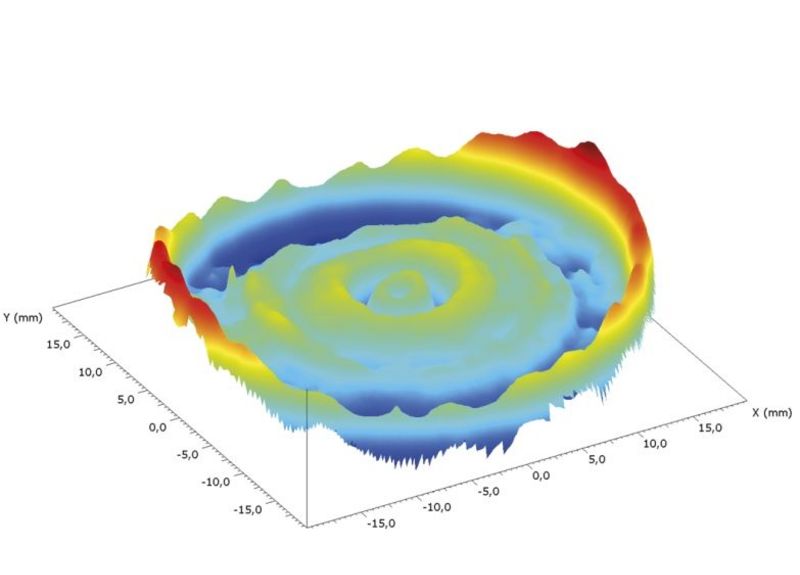
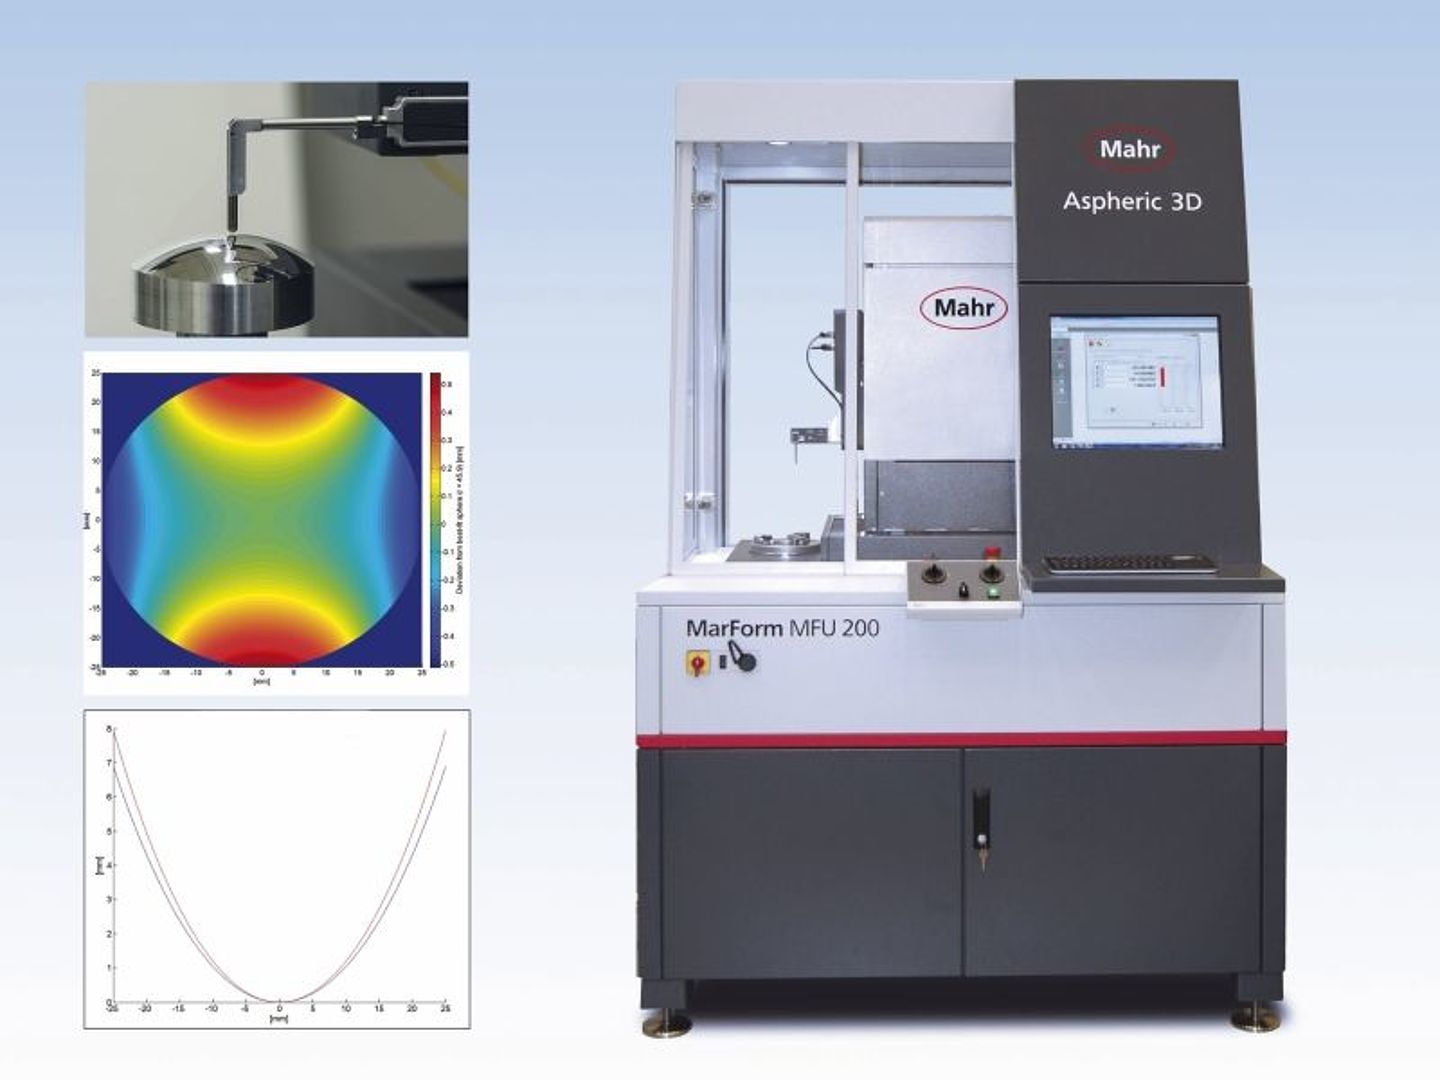
The package together with theMarForm MFU 200 offers the possibility to display the topography of optical components, such as aspheres.
Measuring principle
For the 3D measurement, two linear profiles, which are offset by 90°, are first measured over the zenith of the lens. Subsequently, a several concentric circular profiles are recorded by rotating the C-axis. These measuring points are used to generate a topography. The free positioning capability of the probe arm makes it possible to measure interrupted surfaces.
Of course a fast 2D measurement can also be recorded with a stylus over the zenith of the lens.
Through the use of the measuring station in a vibration-damped cabin, external disturbances, such as vibrations and dirt, are kept away from the measurement objects.
Measurement sequence
Before the measurement, select the nominal shape type and set the parameters of the expected target lens. In the next step the measurement data are recorded and compared with the nominal data of the lens.
The RMS value, the PV value and the slope error (slope error) are displayed as parameters.
In the software, the individual parameters such as the radius of curvature R0, the conical constant k and the aspherical coefficients Ai can be adapted for the aspheres when fitting the nominal asphere into the fit asphere.
The differential topography between the determined measured values and the desired lens is output as a color-coded height image. The 2D sections and the differential topography can then be exported in known formats for correction to the processing machine.
In addition to the measurement of spheres and aspheres according to the above-mentioned description, other rotationally symmetrical objects can also be measured and evaluated with the aid of the nominal shape as a conical section or arrow height description or a 3D point cloud.
Combined opto-tactile measurement
In order to accurately examine and ensure the optical performance of a lens, it is often necessary to measure, in addition to the surface geometry, the relations between the front, back and edge.
One way of determining these parameters is to detect the position of the mechanical axis of the lens edge and the tilting of the rear side relative to the optical axis of, for example, an aspherical surface. The entire measuring sequence is carried out in one clamping in a fully automatic measuring sequence and with the use of different probe systems.
Click here to download an application form from the Download Box on right hand side, which provides a solution for a fast and comprehensive measurement of complex measuring tasks with regard to the shape and position of optical surfaces.
