High-quality metrology for quality control in the measuring room, production, incoming goods and development.
Gear Metering Pumps & Meter Mix Dispense Machines with highest accuracy for processing liquids and pastes.
High-precision rotary stroke bearings for backlash-free linear and rotational movements for use in machine and device construction.


Innovative metrology for a wide range of applications:
- • Length and diameter
- • Surface and contour
- • Form and position
- • Gears and shafts

Precise mixing and metering of liquids and pastes:
- • Gear metering pumps
- • Pumps for fiber production
- • Meter mix dispense machines as well as mixing heads

Rotary stroke bearings for backlash-free linear and rotary movements in:
- • Mechanical engineering
- • Precision engineering
- • Optik
- • Electronics
- • and many other industries


As an internationally active company, Mahr holds its patents not only in Germany, but worldwide.
Optical or tactile surface analysis: Which measuring method is best when?


Roughness and waviness measurements have long been an integral part of quality testing. Traditionally, this is understood as a two-dimensional measurement. The result of tactile scanning is a surface section. The properties obtained can be described by a large number of parameters within DIN EN ISO 4287 / 4288 and DIN EN ISO 13565-1/2. The section relief can be compared with a two-dimensional snapshot, which, however, does not allow any statement about surface structures. However, if a production process requires precisely defined surface structures, optical measuring instruments are required.
The balancing act between smooth and rough
This statement is illustrated by the example of textured thin sheets used in the automotive industry. The smoothest possible substrate is the basis for first-class paintwork. The forming of the sheets in presses, however, requires a certain minimum roughness. This is essential for the adhesion of oil in order to reduce process disturbances to a minimum. To test the surface quality of such a sheet, both tactile and optical methods can be used. The 2D parameters Ra and Rpc used for roughness analysis, as well as the Wsa value according to SEP 1941, are comparable. Nevertheless, this information is not sufficient: In order to ensure that the surface meets the stringent requirements of the automotive industry, additional statistical data of the surface must be recorded.
Optical measuring methods for surface analysis
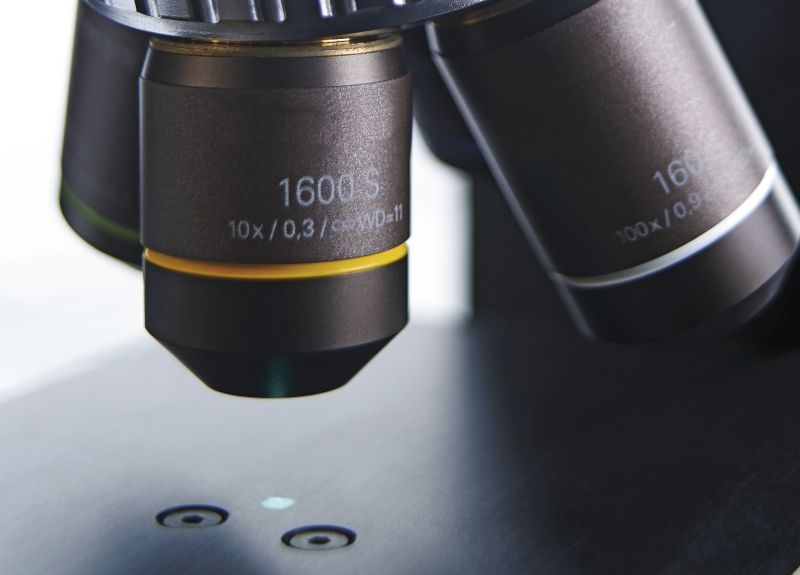
Sheet metal manufacturers use optical measuring instruments for this purpose - such as the MarSurf CM explorer. This confocal microscope is used to determine the frequency of existing particles as well as their size and volume in the surface. In addition, statements can be made about the size of depressions (empty volumes) and their position. Only this information can provide valuable results in terms of process technology in order to qualify the microstructuring of the surface. The corresponding 3D texture parameters as well as the operators for their determination are described in the still young DIN EN ISO 25178. It is the first international standard to consider the non-contact measurement and specification of 3D surface textures.
Conclusion
The qualified analysis of machined surfaces is based on the choice of the right measurement method. If the two-dimensional profile section is no longer sufficient for the assessment of surface structures, three-dimensional optical paths must be taken. The planar optical roughness measurement is still less widespread than the tactile variant. A look into the practice shows that both methods complement each other perfectly and are being used more and more.
