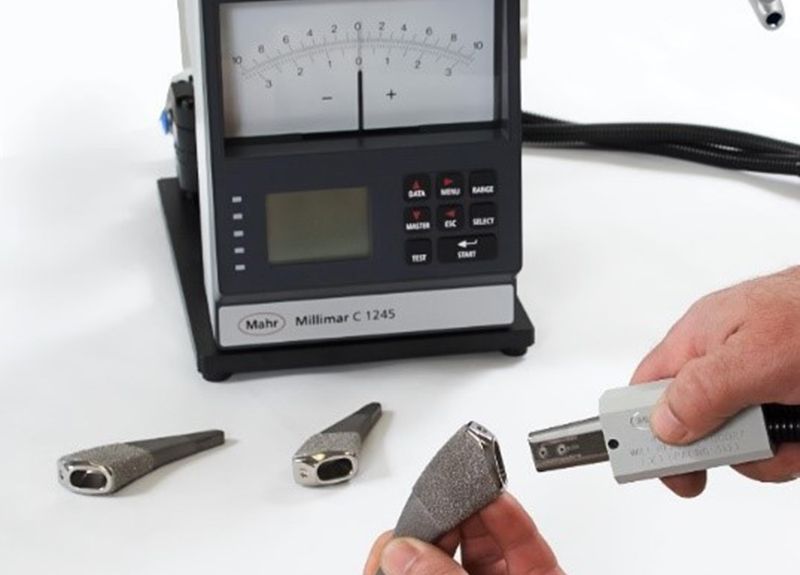
Using Air Gaging for Measurement of Orthopedic Devices


Precision orthopedic components can only meet the necessary high-quality standards when the individual manufacturing steps (starting with cutting and ending with final machining) are consistently stable. This requires process-oriented inspection of characteristics, rapid feedback when tolerances have been exceeded, and documentation of all process data.
Typically, as parts move through the manufacturing process from raw material to final product, dimensional tolerance, surface finish, and geometric characteristics become more critical. One of the dimensional characteristics that is measured at the end of the orthopedic device manufacturing process is the tight tolerance on the tapers used to match the parts together. For example, most hip and knee implants use tapers to provide optimal alignment and to “lock” the components into position. During the manufacturing of these devices, control of both taper and size determines how well the orthopedic implants will perform over their lifetime.
Why Air Gaging is the Most Effective Method
As tolerances become tighter, gages must be more robust, have the right design characteristics to fixture the parts properly, and have the proper resolution and accuracy to measure the required tolerances. Increasingly, air gaging has become the inspection tool of choice for controlling these critical parameters. Air gaging is extremely precise and provides very high resolution. It is typically used for applications where the tolerance is fairly tight — usually less than ±0.001 in. — and surface roughness is less than 50 µin. Ra. When these conditions exist, as with precision medical tapers, air gaging is often the best solution for the application.
Air gaging is also particularly well suited to checking dimensional relationships. Furthermore, air gages are fast, easy to use, and can last for years — measuring millions of parts — under the toughest shop conditions. Air gaging can even be used in some cases to inspect and estimate certain form features on a part.
The air jet, the small orifice that emits air to begin the physical process of creating a gage, is the reason that air gaging is so useful for measurement of orthopedic tapers. No other gaging sensors are as small or can be placed in such close proximity when measuring multiple diameters or geometric forms. Small electronic sensors or eddy current type sensors may approach the size of an air jet, but nothing can match their economy or ability to work in a shop environment at the point of manufacture.
It is possible to measure diameter and taper with either a combination of electronic sensors or coordinate measuring machines (CMMs) with touch probes. However, the air jet can be built in a precision tool that can be used to measure the part at the point of manufacture. This can be done in one fast measurement with very little operator involvement. Neither CMMs nor optical gaging have the speed and the precision required to measure 100 percent of parts on the shop floor while providing immediate feedback on the performance of the process.
Selecting the Right Gage Design
Just as there are many manufacturers of taper components, there are many methods for specifying taper requirements. The reference face may be different between manufacturers and tolerances can be specified in different ways.
Depending on how the assembly goes together, tolerances may be tighter on the taper than on the diameters, or vice versa. Alternatively, there may be a combination of taper tolerances on only one diameter. Thus, the specification on the print is the best guide in choosing which air taper gage design to use. With air gaging, the tooling is made specifically for each different taper application, so it is critical to properly understand the requirements.
Even so, the flexibility and benefits are hard to beat. Air gaging provides very high resolution and uses a sensor that is 0.050 in. or smaller; sensors can be placed within 0.10 in. of each other and can be combined to produce any number of dimensional and geometric results right on the shop floor.
Types of Air Taper Gages
Medical implants must be extremely durable and able to withstand a lot, so the taper fit between the female and male components is critical. The two pieces have to lock together and sit at the correct height. During manufacture, it is common to inspect 100 percent of parts to ensure the accuracy of both components. This is usually done with differential air gaging, which combines the necessary high resolution and accuracy with the speed, ease of use, and ruggedness required on the shop floor.
The most common type of air gage taper tooling has two pairs of jets on opposing air circuits and is designed for a “jam fit” between the part and the tool (see Figure 1). If the rate of taper is too great, there will be excessive clearance between the two surfaces at the small end of the taper. If the rate of taper is too small, there will be excessive clearance at the large end.
Either situation can reduce the rigidity of the connection, which over time can cause the “lock” to fail by becoming loose and/or rotating. If the taper angle is correct but the size is incorrect, then the overall length of the orthopedic assembly will be incorrect and provide unexpected results after implant.
Jam-fit tooling does not measure part diameters. Rather, it displays the diametrical difference at two points on the workpiece, as compared to the same two points on the master. If the difference in diameter at the large end of the taper is greater than the difference in diameter at the small end, the upper jets will see more back pressure than the lower jets. This will reflect negative taper, or a larger taper angle. If the diameter difference at the small end is greater, the reverse is the case and the gage will read positive taper.
However, because a differential air meter displays diametrical differences only, it will not display the part’s diameter at either location. So, while this type of air tooling provides a good indication of taper wear and allows a loss of rigidity in the connection, to be predicted it does not tell anything about the taper components’ positioning accuracy.
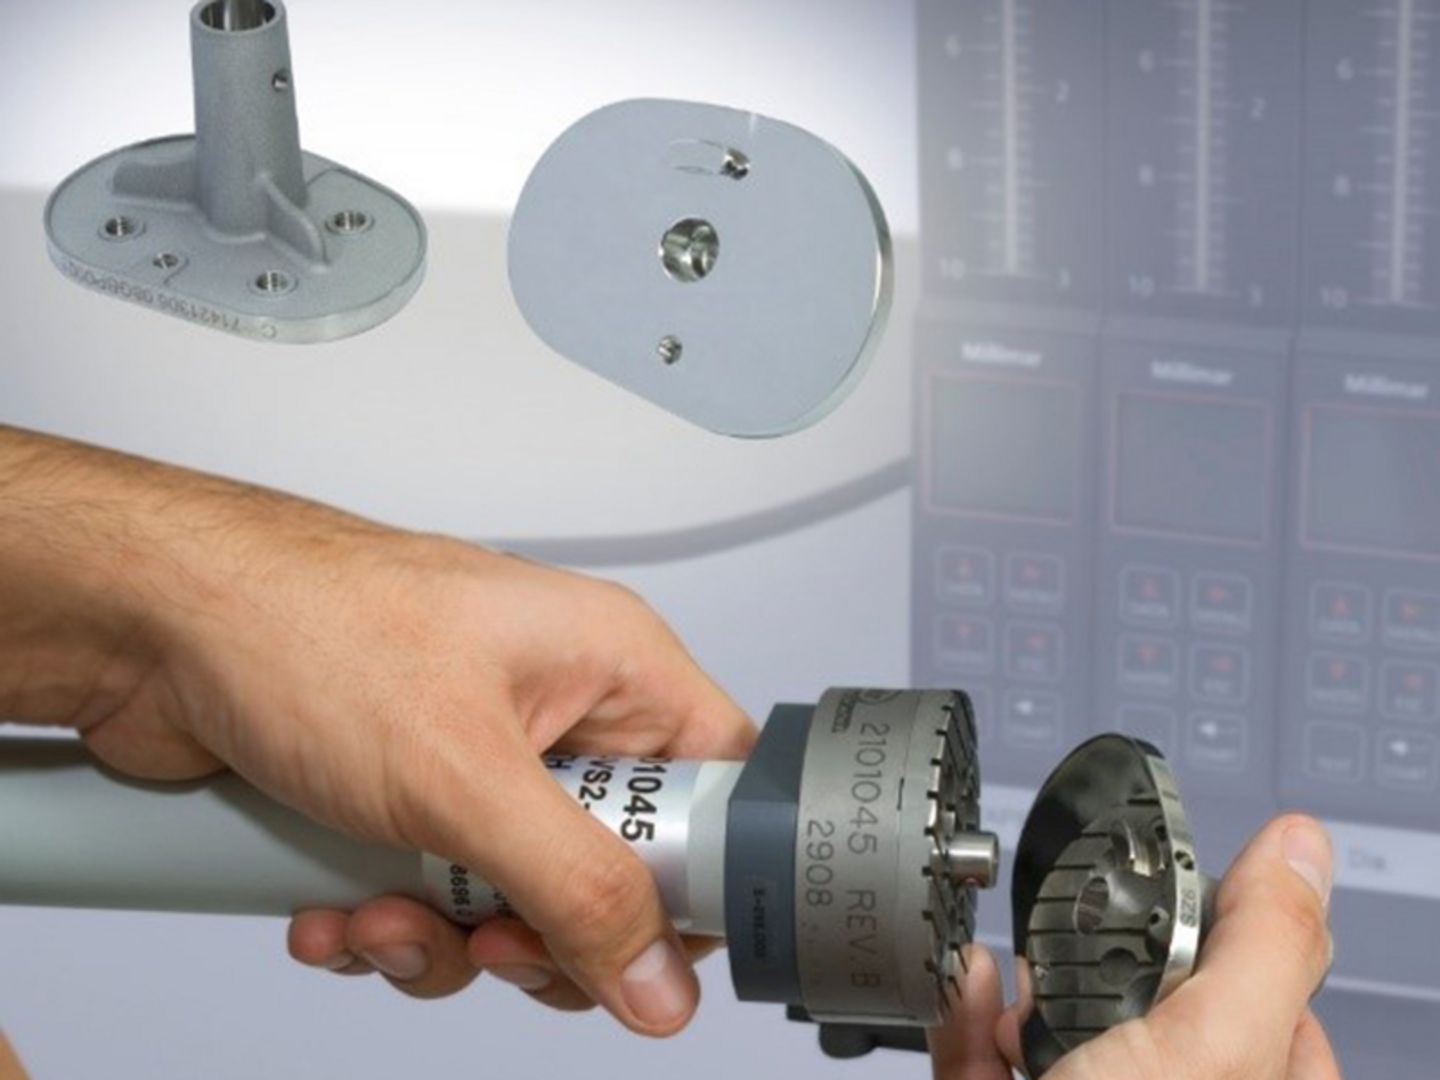
For that, a clearance-style (sometimes referred to as a shoulder style) air tool is needed in which an air taper ring cavity is sized to accept the entire taper part. Depending on where the part’s reference surface is, the part can be referenced on the end of the taper or on a flange (shoulder) against the top surface of the part. This makes it possible to measure diameters at known heights (in addition to the change in clearance, as with the jam-fit type). An additional set of jets may be added to inspect for bell-mouth and barrel-shape, two more conditions that reduce the contact area between the male and female components.
The third type of air taper gage is a cross between the aforementioned styles. This is called a simultaneous fit taper gage. It is essentially a jam-fit air tool with an indicator that references on the face of the datum surface. This indicates how far the air tool goes into the part being measured.
So, while the air gage provides a reading of the taper angle, the indicator provides an indication of the size of the diameters. When measuring a female taper part, if the taper diameter is too large, the gage will go farther into the part. If the diameter is too small, it will not drop into the part as far as expected.
Accounting for Surface
Because air gaging is so precise and high resolution, it can be influenced by the surface finish of the part. Some parts have designer surface finishes that would normally not be conducive to air gaging. For example, measurements of a prosthetic femoral stem include the roughness of the polished area found on the proximal portion of the stem. This area is subject to close visual inspection for asperities by the orthopedic surgeon. To verify surface and waviness quality of the taper, a contour gage is used to trace the taper in the same measurement.
This causes complications for the application of air gaging as a good surface is necessary to utilize it. During normal use, the air jet’s curtain of air covers an area on the surface of the part. This air curtain is restricted by the surface to create the back pressure, which is required to do the measuring. On a smooth surface, the difference between the average surface and the peaks, which in the case of an ID part means minimal clearance, is fairly insignificant. But if the surface is very rough, the area, or the point at which the back pressure is built up, can be significantly different. This can register on the air gage display and affect the indicated diameter.
However, when there are surface finish issues special steps can be taken to account for them. As long as the surface finish is less than 50 microinches, the offset can normally be ignored. Even if it is not, if the effect is discovered during process development, the error can be compensated for and the effective diameter shown to the machine operator. By understanding the nature of the surface and how it reacts to the open-air jets, electronic amplifiers and gaging computers can also provide excellent calculations of average or maximum diameters.
Conclusion
Precision orthopedic components must consistently meet extremely high-quality standards. One of the critical dimensional characteristics that is measured during the orthopedic device manufacturing process is the tight tolerance on the tapers used to match the parts together. As tolerances become tighter, gages must be more robust, have the right design characteristics to fixture the parts properly, and have the proper resolution and accuracy to measure the required tolerances. Increasingly, air gaging has become the inspection tool of choice for controlling these critical parameters.
This article was written by George Schuetz, Director, Precision Gages at Mahr Inc., Providence, RI.


