Roughness measurement on gears for aircraft engines

Gears for aircraft engines must meet the highest standards. The measurement data must be precise and must not damage the workpiece in the process. When Mahr learned about the specific task of a renowned industrial company, two additional criteria had to be met: The efficiency of the measurement time and the quality in the gear roughness machine had to be improved. In short, Mahr had to deliver a measuring system that would not damage the helical twin gears and at the same time convert the previous manual measuring process into a fully automatic system to avoid human error and save time. When Mahr's project manager took responsibility for this task, he knew quite well how to solve the problem and fully satisfy his customer.

Introduction of a new measuring concept: skidless tracking.
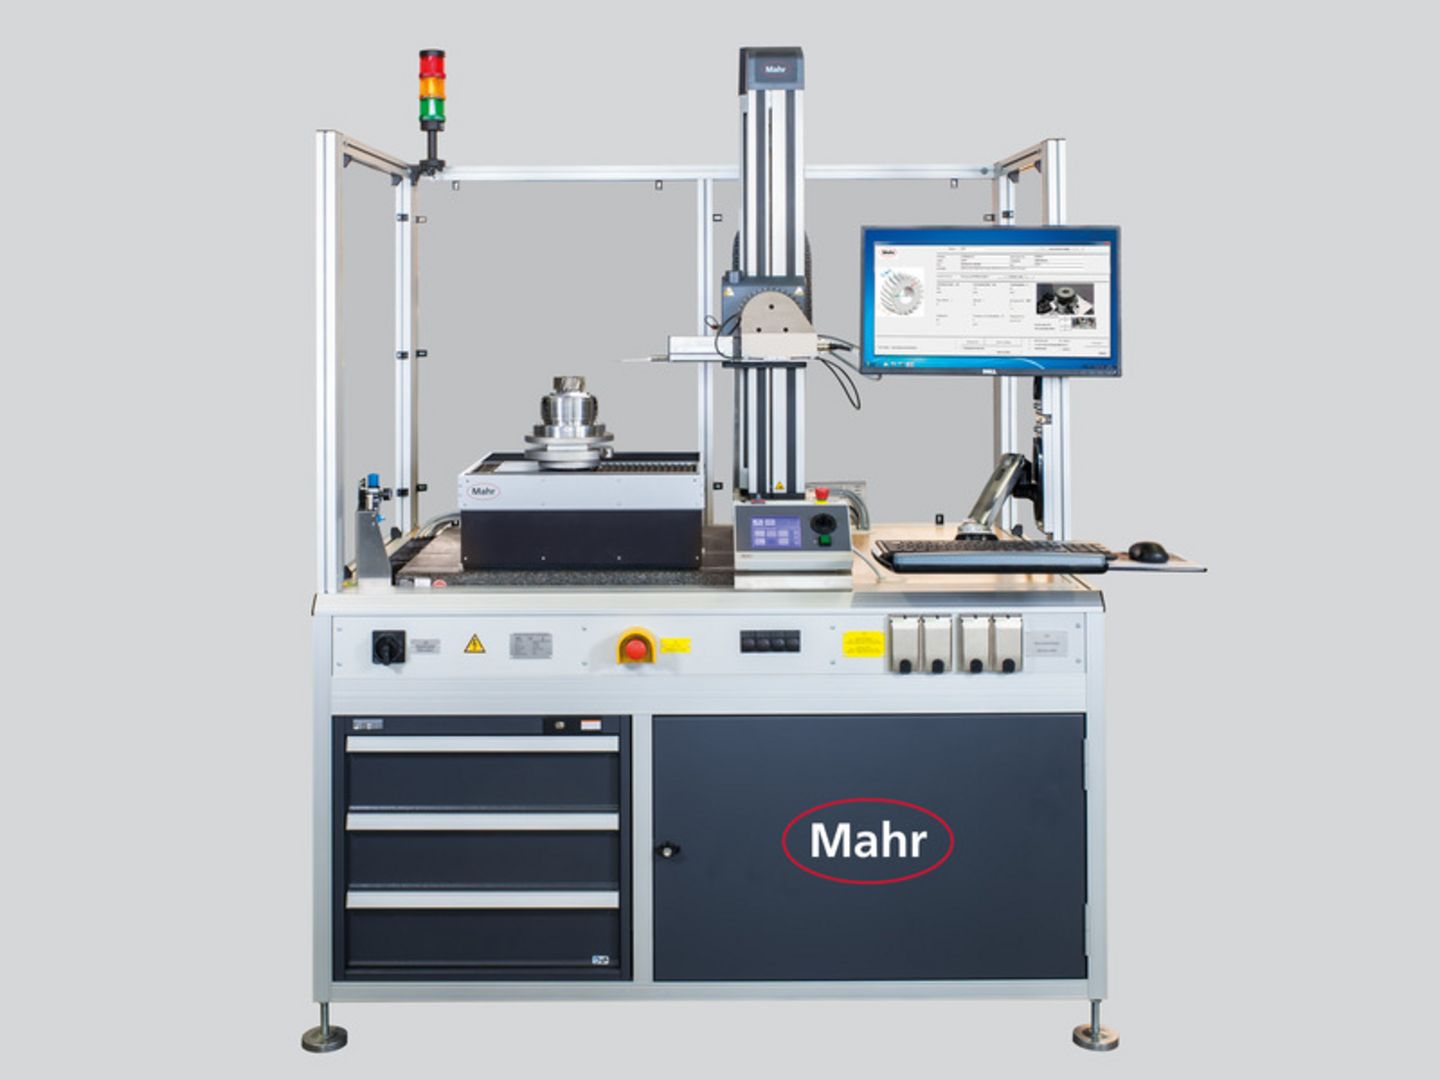
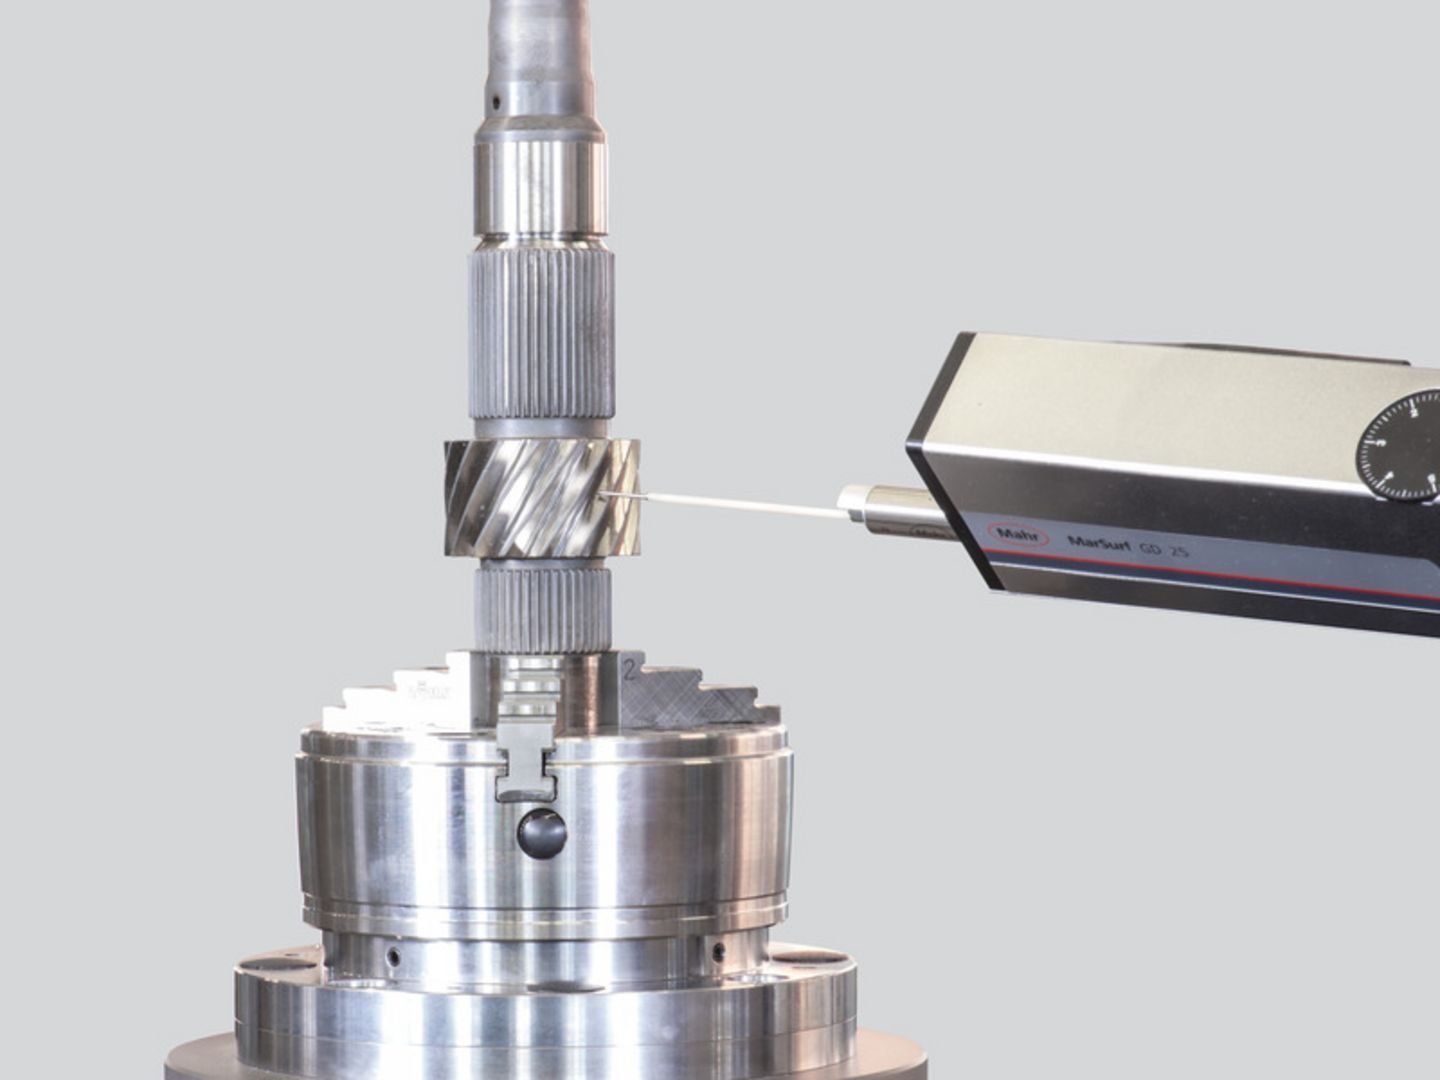
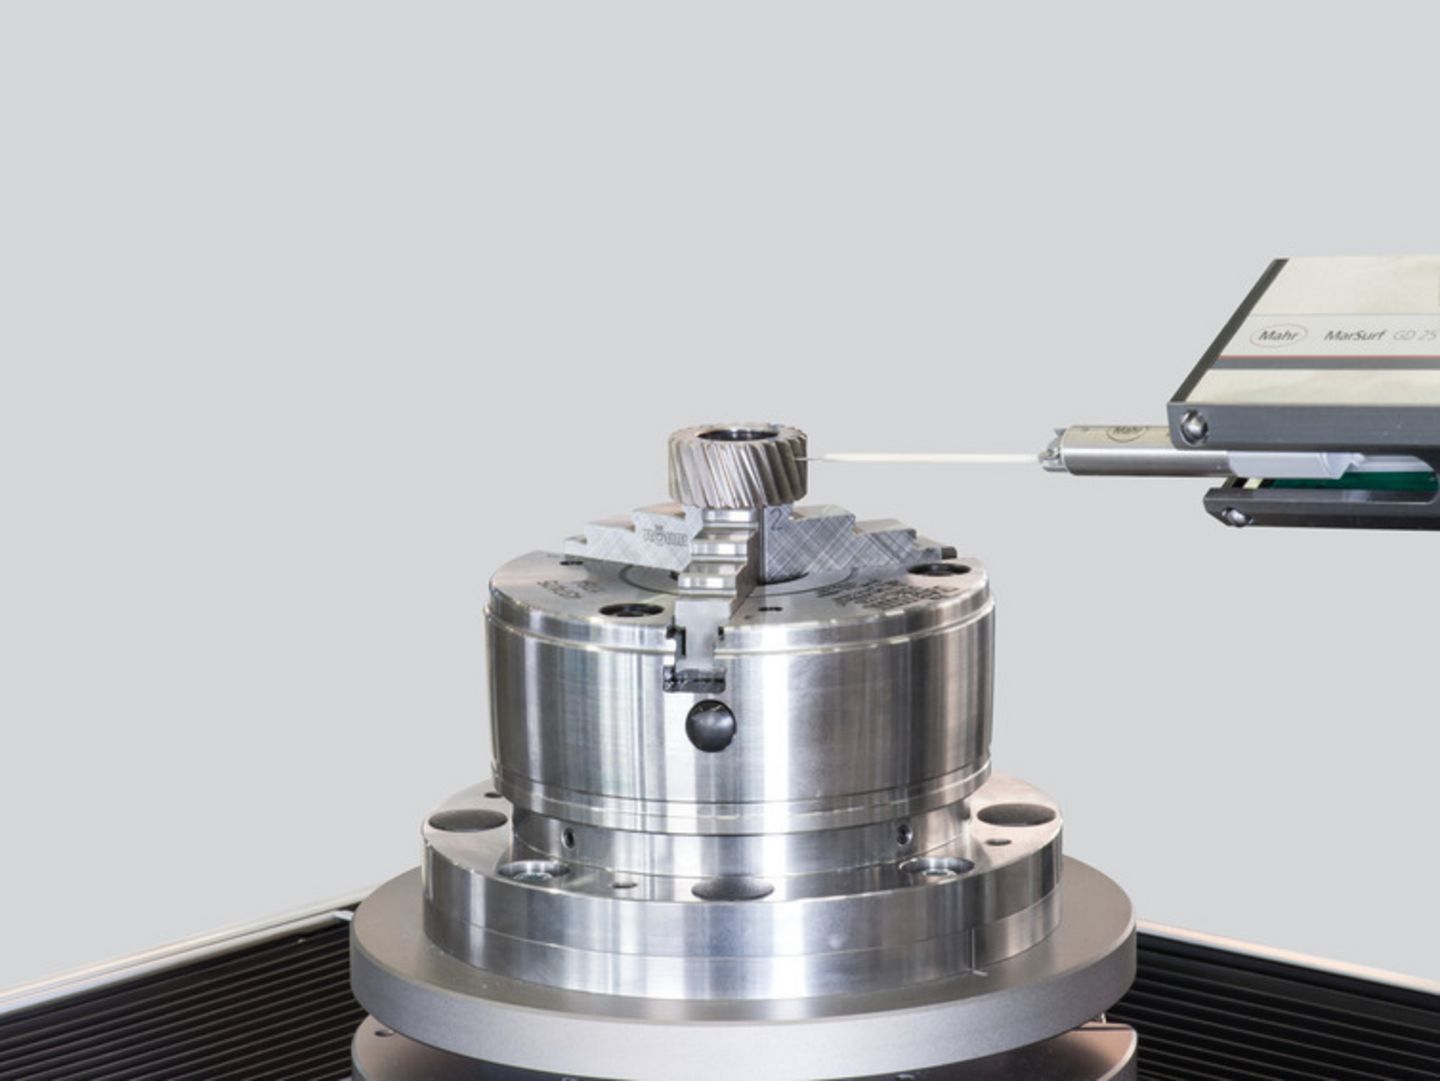
With the previous measuring solution, the data not only fluctuated depending on the operator, but sometimes the measured double helical gears were also physically affected during the measurement; they could not be delivered. The reason for this: the gear was clamped and rotated during the measurement. This causes clamping forces to act on the workpiece, which can lead to damage. Mahr's project manager had a better idea and the right solution at hand: Instead of moving the workpiece, he suggested rotating the probe while the workpieces were being straightened. So he introduced the MarSurf Engineered Series 1300, which uses skidless probing: The drive unit rotates to adjust its position to the angle of the gear, so the gear itself does not move. What's more, the MarSurf Engineered Series 1300 could be used as a fully automated system, offering all the advantages the company hoped for.

MarSurf Engineered Series 1300: easy to use
The customer chose a custom solution from Mahr Engineered Solutions and was not disappointed. Previously, the gearbox was mounted on a locator. This made it difficult to mount it in the same position and was a time-consuming process. That has changed with the MarSurf Engineered Series 1300. Even the operation is easier now. The dedicated gear measurement software ensures that a wide range of gears can be measured easily and quickly. The relevant gear data (e.g. number of teeth, diameter, module and angle of the helical teeth) only need to be entered and the measurement sequence is calculated accordingly. After starting the utility program, the drive unit is adjusted by the corresponding helical gear angle, the machine automatically determines the starting point and starts the measuring routine. The operator merely carries out a visual inspection. No metrological or specific knowledge of the measuring station or programming knowledge for measuring sequences is required to carry out the measurement.

From 2 hours to 8 minutes measurement time
Once the company started measuring with the MarSurf Engineered Series 1300, the benefits became obvious: with the fully automated measurement of the S 1300, the stability of the measurement results was improved and the measurement time was reduced from 2 hours to 8 minutes. This allowed the company to recoup its investment in the S 1300 within 2 years. With this innovative technology, Mahr has helped its customer overcome its challenges and ensure the highest quality of double helical gears for aircraft engines.
Are you interested in our individual solutions?
Feel free to contact us here for your personal consultation.


