Calibrating for consistent quality

Mr. Müller, what exactly does calibration mean?
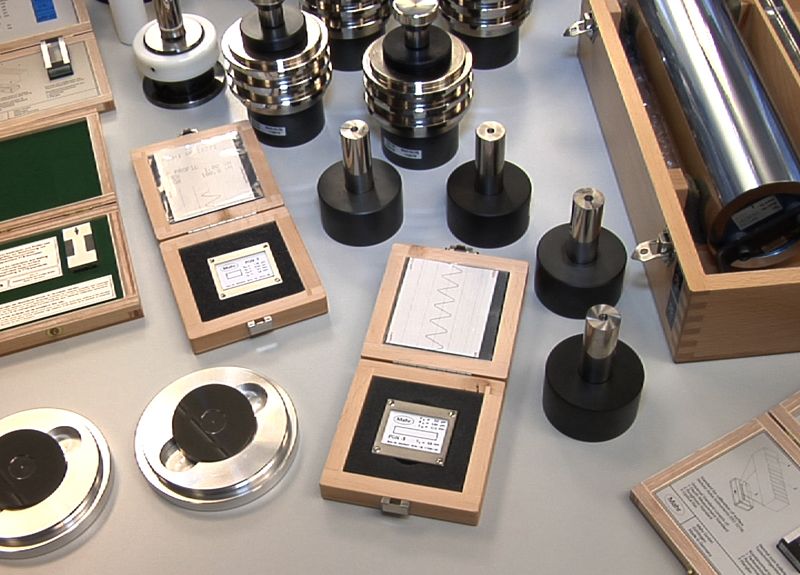
alibration means comparing two concrete things with each other: the measured values of a standard and those of an object to be measured. The standard must be traceable to national and international standards, because this is the only way to ensure that the values are connected to the International System of Units (SI). The measured quality is finally documented, usually in the form of a calibration certificate.
What does a calibration certificate contain?
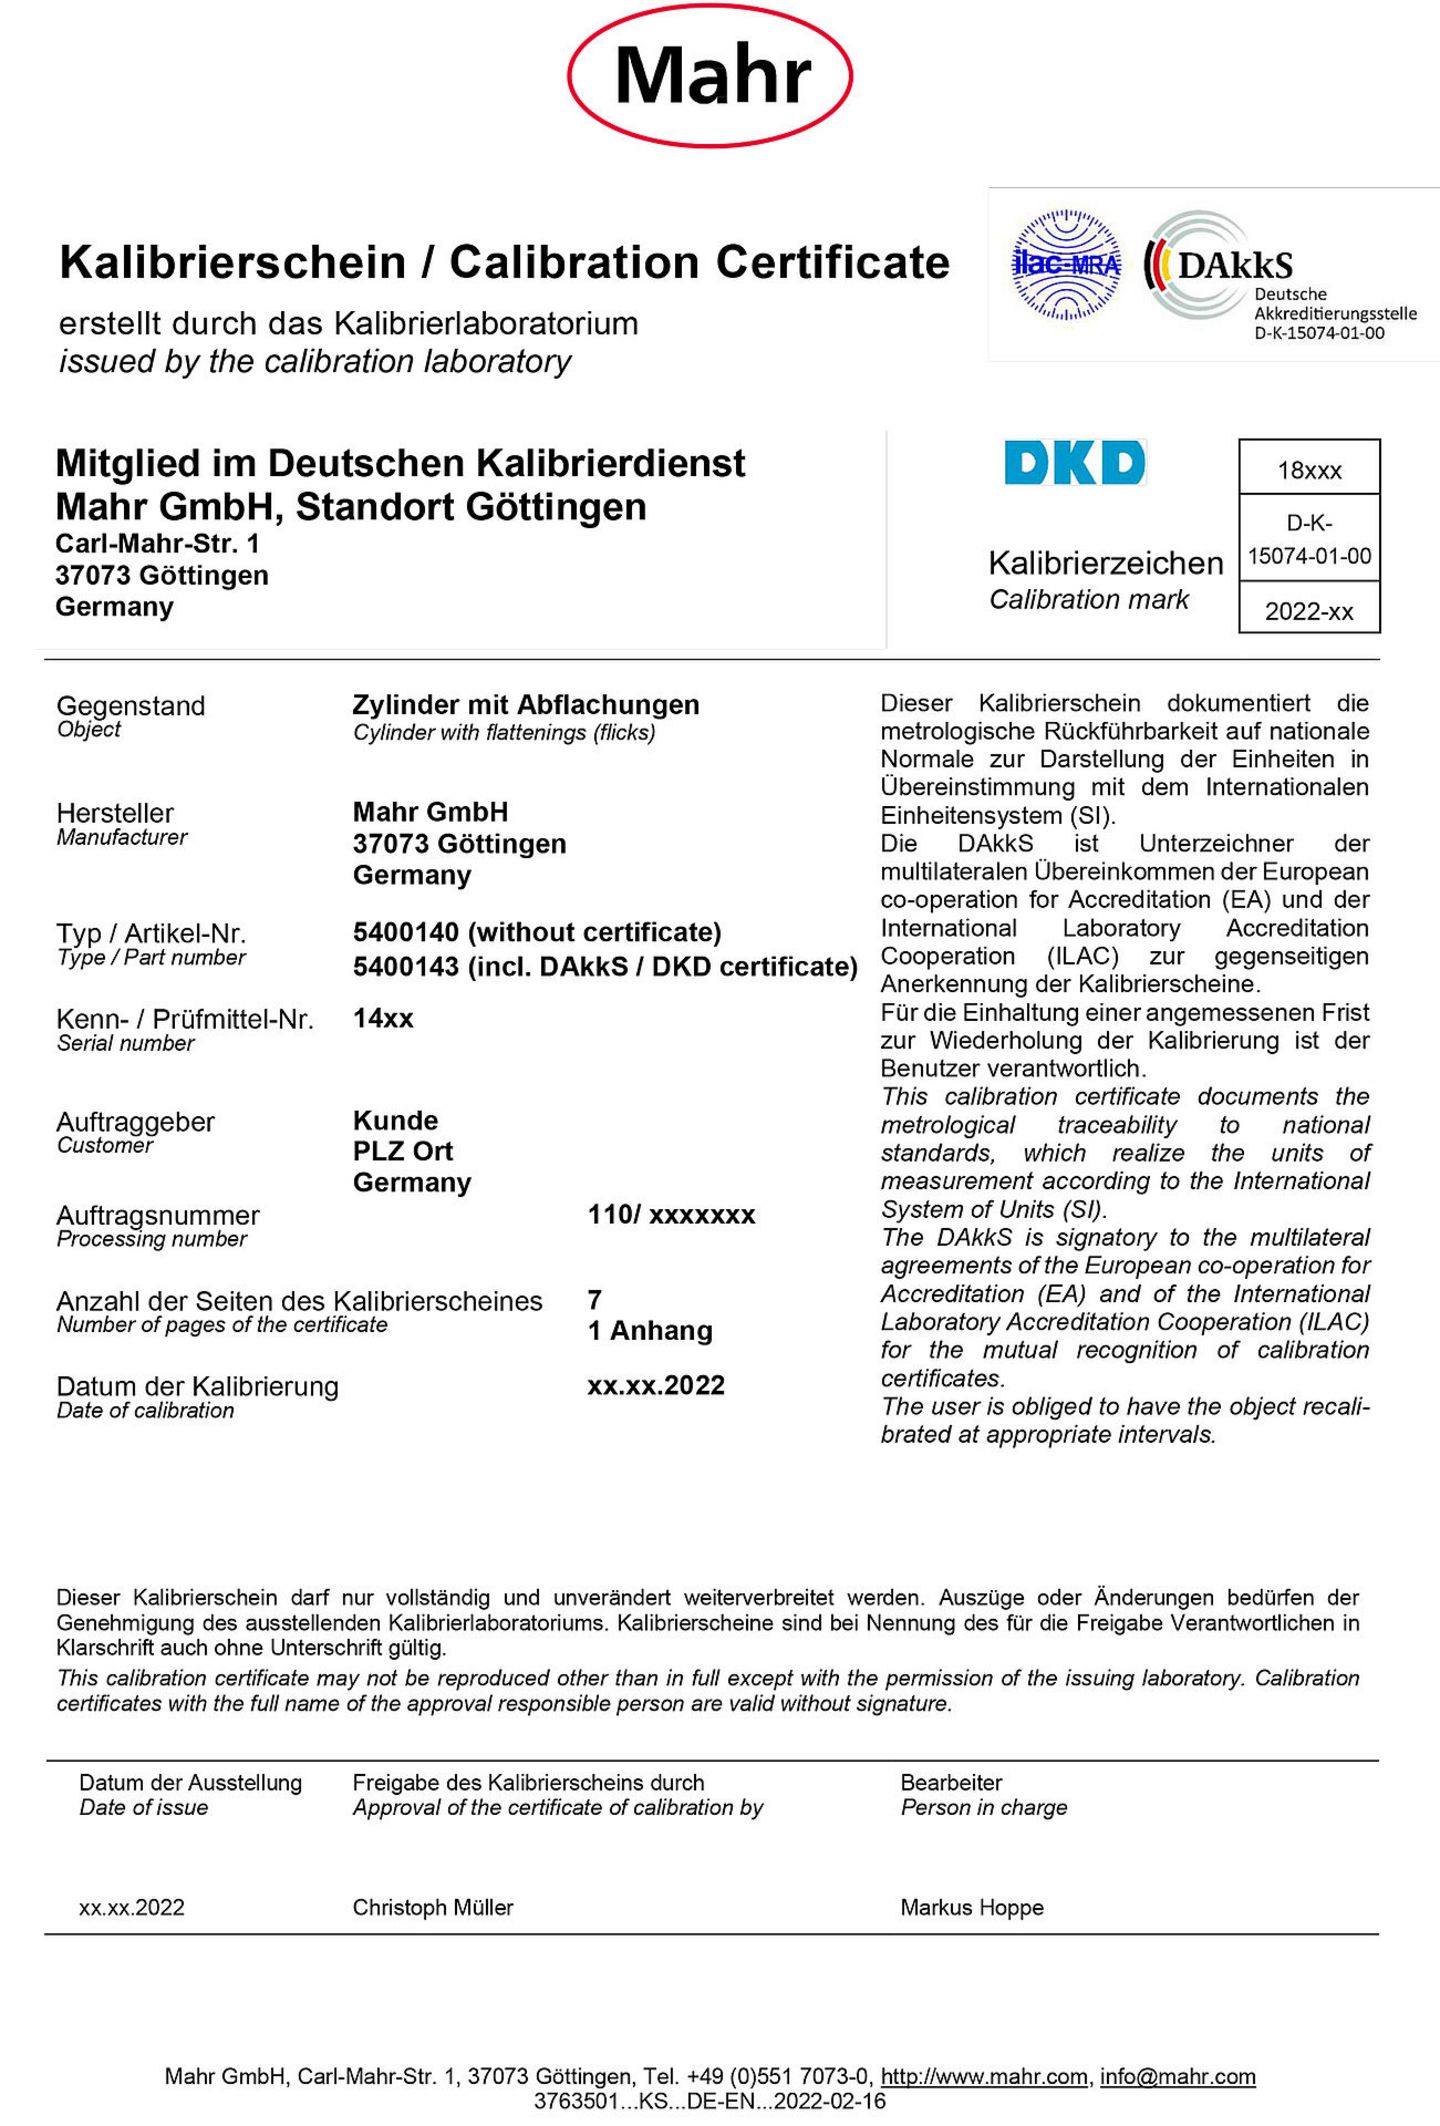
calibration certificate documents the metrological traceability to national standards. In other words, the measurement result can be referenced to an international standard, such as the Urmeter in Paris. However, there are different calibration certificates – for example according to DAkkS, the German Accreditation Body – or so-called factory calibration certificates. These DAkkS/DKD calibration certificates are, in addition to the calibration certificates of the German national metrological institute of the Physikalisch Technische Bundesanstalt (PTB), the traceability. Their issuance is only possible by accredited laboratories. DAkkS calibration certificates show the measured values plus measurement uncertainties together with calibration procedures and environmental conditions. The Deutsche Akkreditierungsstelle GmbH (DAkkS) is a signatory to the multilateral agreements of the European Cooperation for Accreditation (EA) and the International Laboratory Accreditation Cooperation (ILAC) for the mutual recognition of calibration certificates. These are recognized accordingly worldwide.

What, on the other hand, does a factory calibration certificate indicate? And how binding is it?
Factory calibration certificates are more cost-effective. Like the DAKKS/DKD certificates, they are entered into the customer's own test equipment monitoring system and are also subject to regular monitoring. The traceability of the reference standards named and used in the factory calibration certificate should be ensured via the regular test equipment monitoring of the calibration service provider. In the case of DAkkS/DKD laboratories, this is monitored by assessments of the accreditation body. Factory calibration certificates can take the place of DAkkS/DKD calibration certificates if there is no accredited calibration laboratory on the market for this measurand or measuring instrument. However, there is no obligation to recognize factory calibration certificates!
Which parameters must a calibration certificate contain?
In terms of content, it consists of a general and a metrological part. The former includes a reference to the legal security of the procedure and international recognition. The metrological content is divided into individual chapters – measurement task, measurement method, measurement conditions and measuring point plan, reference standard, environmental conditions, measurement results, measurement uncertainties and remarks. This structure can be extended if required. Accreditation by the national accreditation body (in Germany, DAkkS GmbH) is generally limited to individual instruments, parameters and standards. An example: At Mahr in Göttingen, there are about 3000 different instruments, of which about 30 are included in the accreditation scope. At the Mahr laboratory in Esslingen, which mainly deals with the calibration of hand-held measuring equipment, the number is around 150 accreditations.

How is calibration to be performed?
The basic requirement is that measuring equipment and standards must be traceable to national standards. In addition, the measuring and test equipment must be monitored regularly, i.e. there must be measuring equipment management and condition monitoring. Furthermore, the entire measurement chain must be switched on for a certain period of time before calibration begins in order to avoid thermal effects such as drifting. Ambient conditions must be taken into account depending on the purpose of the calibration. Only the user can be responsible for observing a reasonable period of time for repeating the calibration. The calibration service provider and instrument manufacturer cannot judge the conditions on site such as frequency of use, qualification of personnel and environmental conditions. Usually, the recalibration interval is determined by the customer's own test equipment monitoring department when the device or standard is first delivered. For instruments and standards of the length measuring technique, five years should not be exceeded until the next calibration.
What are the mandatory requirements that calibration laboratories must meet?
They must be accredited according to the internationally accepted standard DIN EN ISO/IEC 17025 (2018) – this is proof of competence. Accreditation is important for all companies that are certified according to VDA 6.1, QS 9000 and TS 16949 or are subject to the special guidelines of certain automotive companies. And accreditation according to DIN EN ISO/IEC 17025 also provides proof that the laboratory meets requirements of the DIN EN IS0 9000 ff. (2015) standards.
How many calibration laboratories does Mahr maintain?
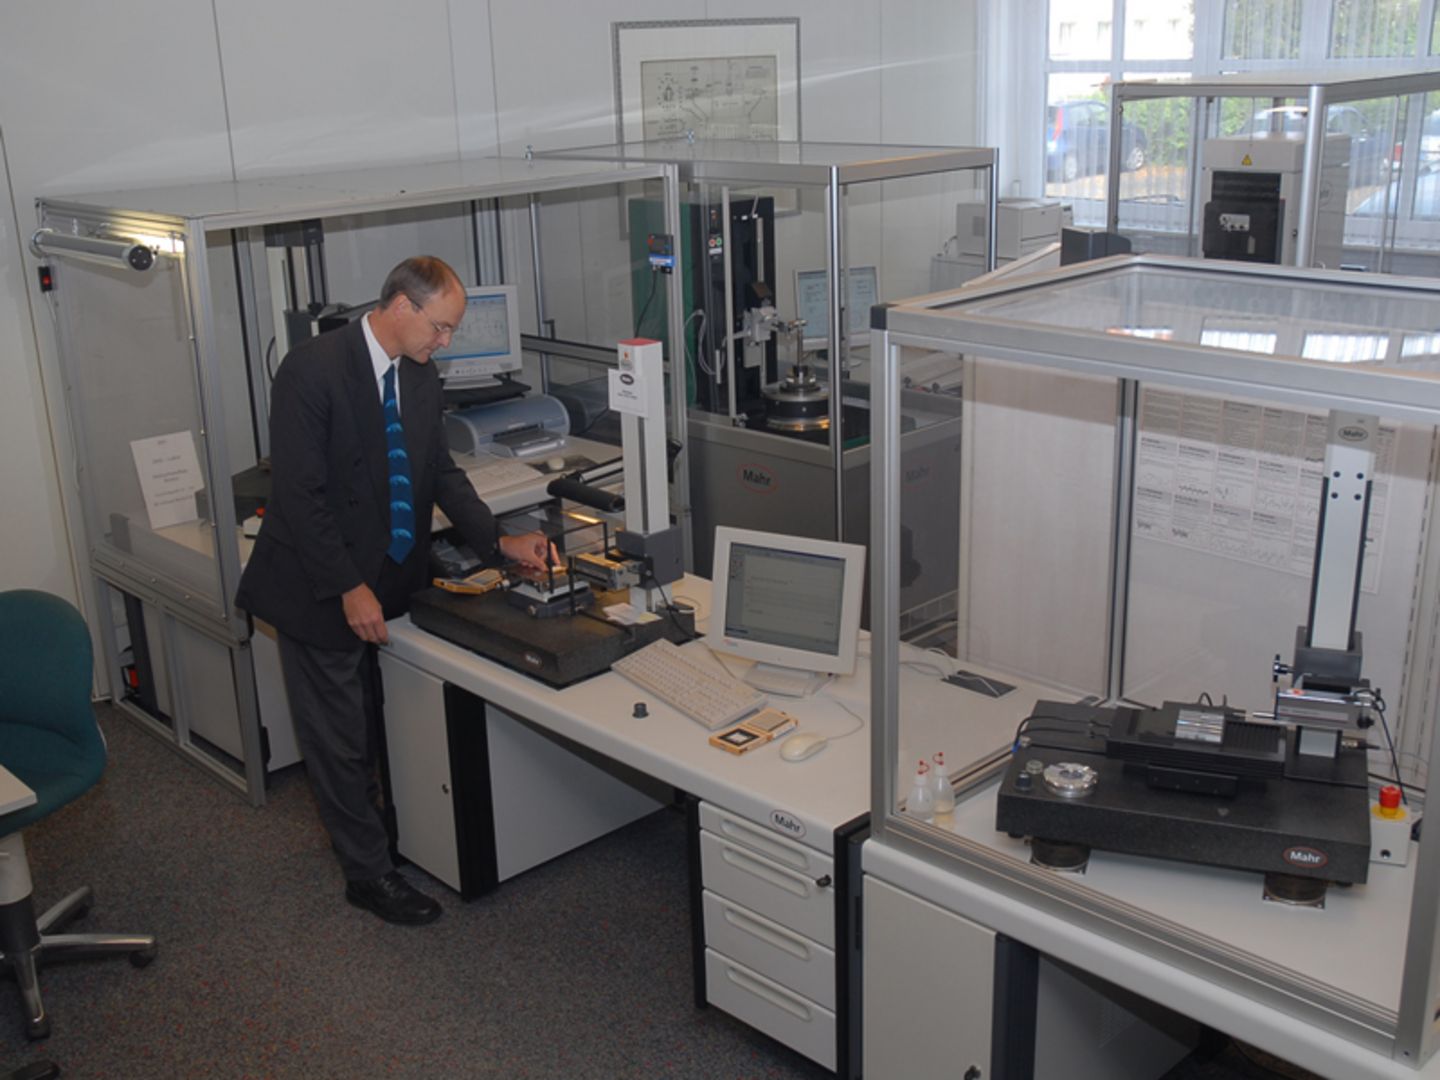
Mahr has five calibration laboratories for length metrology worldwide, all of which are accredited according to ISO/IEC 17025 (2018). They are located in Göttingen (DE), Esslingen (DE), Probostov (CZ), Providence (USA) and Chennai (CN). Calibration laboratories always have a quality management system with, among other things, quality objectives and processes. These objectives include, for example, striving for continuous improvement of processes and own services. It documents responsibilities, contains procedural, testing and work instructions, and makes risk assessments of the core processes. Each calibration laboratory has its own mark with its own number. This identification number includes a "K" for calibration laboratory. Testing laboratories have a "P" in their identification number; they usually issue test reports. If a customer wants the smallest uncertainties and a traceability certificate, he should look for the identifier "K".
Further information
- Here you will find further information about accredited calibration services for your measuring instruments from Mahr.
- Here you can find all current accreditation and certification certificates from Mahr.
- Do you have any questions? Contact us here.


