Giving ideas the right form

The production of components via 3D printing has gained enormous momentum: Workpieces are no longer manufactured only by ablation, but from different materials in one piece. This promises great savings potential and a significant increase in flexibility, especially for complex components. However, the performance of this process must also be right: The component quality may not be inferior to conventional processes in any way. Surface quality in particular is crucial for many components in order to ensure their long-term function.
Making the 3D printing process more controllable
The surface quality of additively manufactured workpieces still sometimes deviates from conventional processes, as the 3D printing process cannot (yet) be fully controlled.
Example 1: When printing metal, powder particles are melted by laser. If the quality of the powder is not completely homogeneous, the structures within the component will also not be uniform.
Example 2: In the case of plastics, thermal processes can cause a particle to deviate minimally from the targeted position. This also leads to minimal deviations from the target and to defects. Micro-roughness in particular is a problem with critical surfaces: The surface has small holes because a particle has not melted cleanly.
The result: The parts have to be laboriously reworked through additional process steps. However, the goal is to make the 3D printing process more controllable so that no further processing is necessary.
Everything in view with confocal metrology
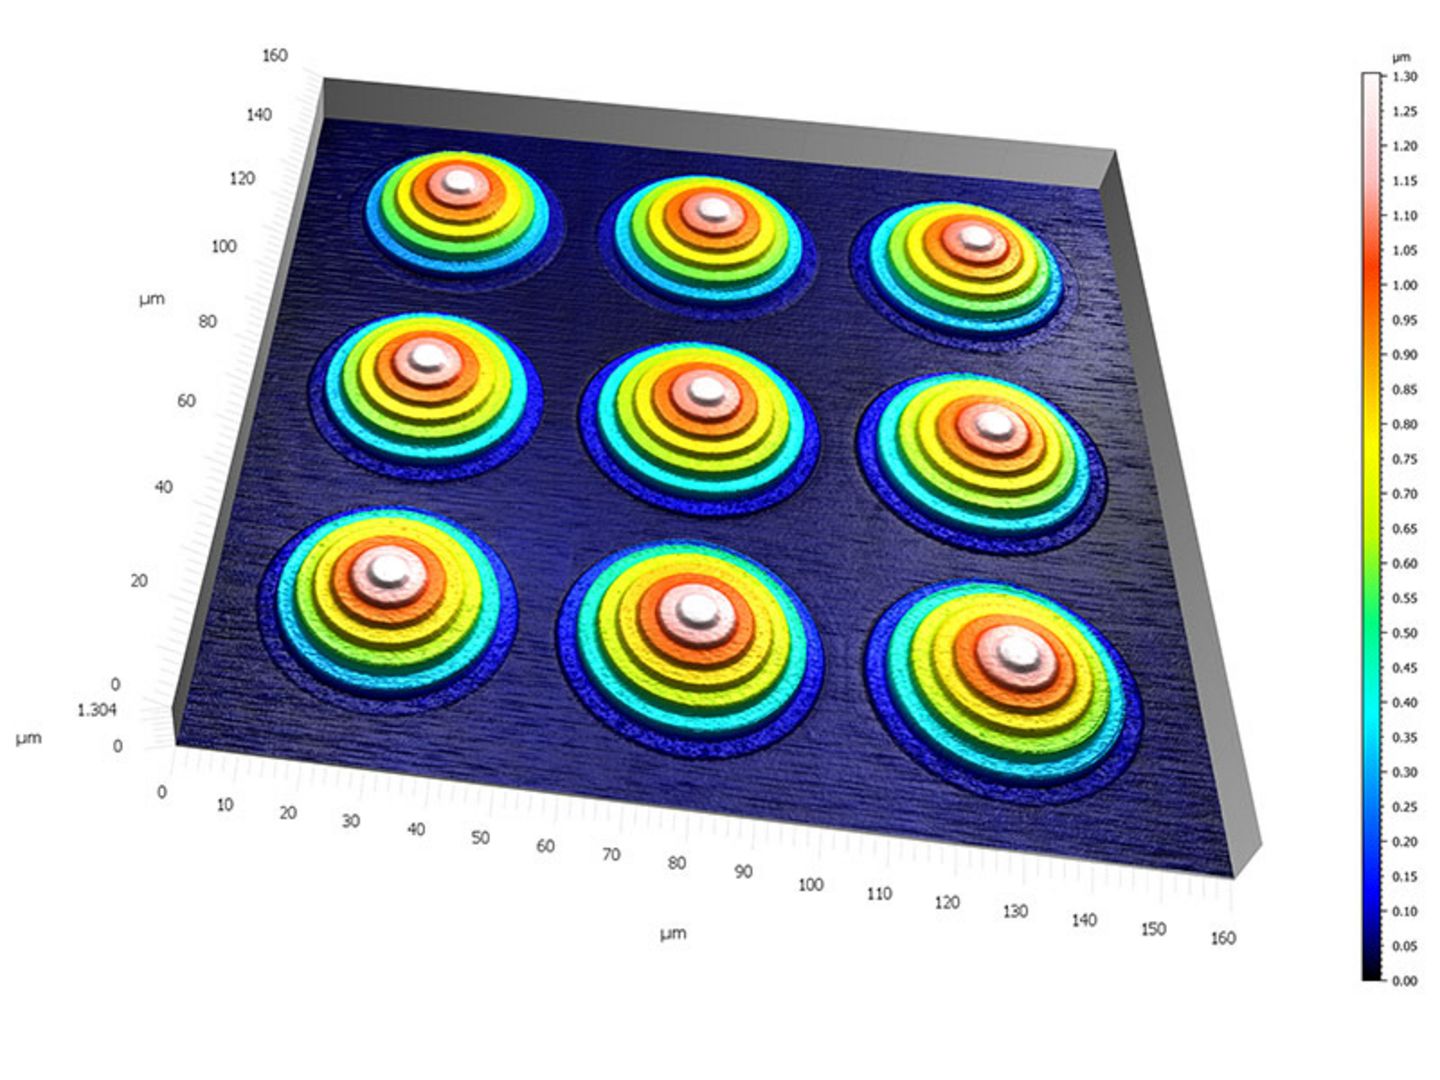
To optimize their manufacturing processes, manufacturers of 3D printers and companies rely, among other things, on optical 3D metrology to analyze the additively generated surfaces. With measuring devices such as the confocal microscopes of the MarSurf CM series, defects can be detected at an early stage – with an accuracy of up to two nanometers.
Typical measurement tasks:
- Roughness measurements according to ISO 4287 & ISO 13565 / ISO 25178
- Topography measurements (e.g. volume, wear, tribology)
- Contour and shape (2D, 3D)
- Pore and particle analysis
- Defect detection

Particularly suitable for this field of application is the MarSurf CM expert, a laboratory and QA system with which surfaces can be measured and analyzed three-dimensionally – contact-free, material-independent and fast. Thanks to its robust design and insensitivity to environmental influences, the MarSurf CM expert is also ideally equipped for production environments. With additional manual Z-positioning, a large X- and Y-travel range and the option of automation, it offers excellent ease of use.
Advantages of confocal metrology:
- Measure correctly, reproducibly: Measurement data is acquired reliably and repeatably, ensuring the highest raw data quality and profile fidelity.
- Freely programmable measurement sequences: Fully automated, database-based pallet measurements with automated measurement and evaluation sequence (user-independent 1-click solution).
- Intuitive handling: Simple, user-guided interface with automatic functions for all essential measurement parameters, as well as use of measurement recipes for known surfaces.
You want to learn more?
- In the product area you will find further information on the MarSurf CM expert
- You can also read interesting facts about 3D surface analysis in our blog.
- Prefer to watch a video? Then browse through our Youtube channel


