Industry 4.0: Why metrology retains a key role

In additive manufacturing, for example, it is important that the surfaces from the 3D printer have exact ultra-fine features, regardless of whether they are made of metals, plastics or other materials. Here, it is necessary to check the additively manufactured surfaces for roughness and waviness, to measure their contours or lengths in the smallest units, and thus to certify that the components are functional.
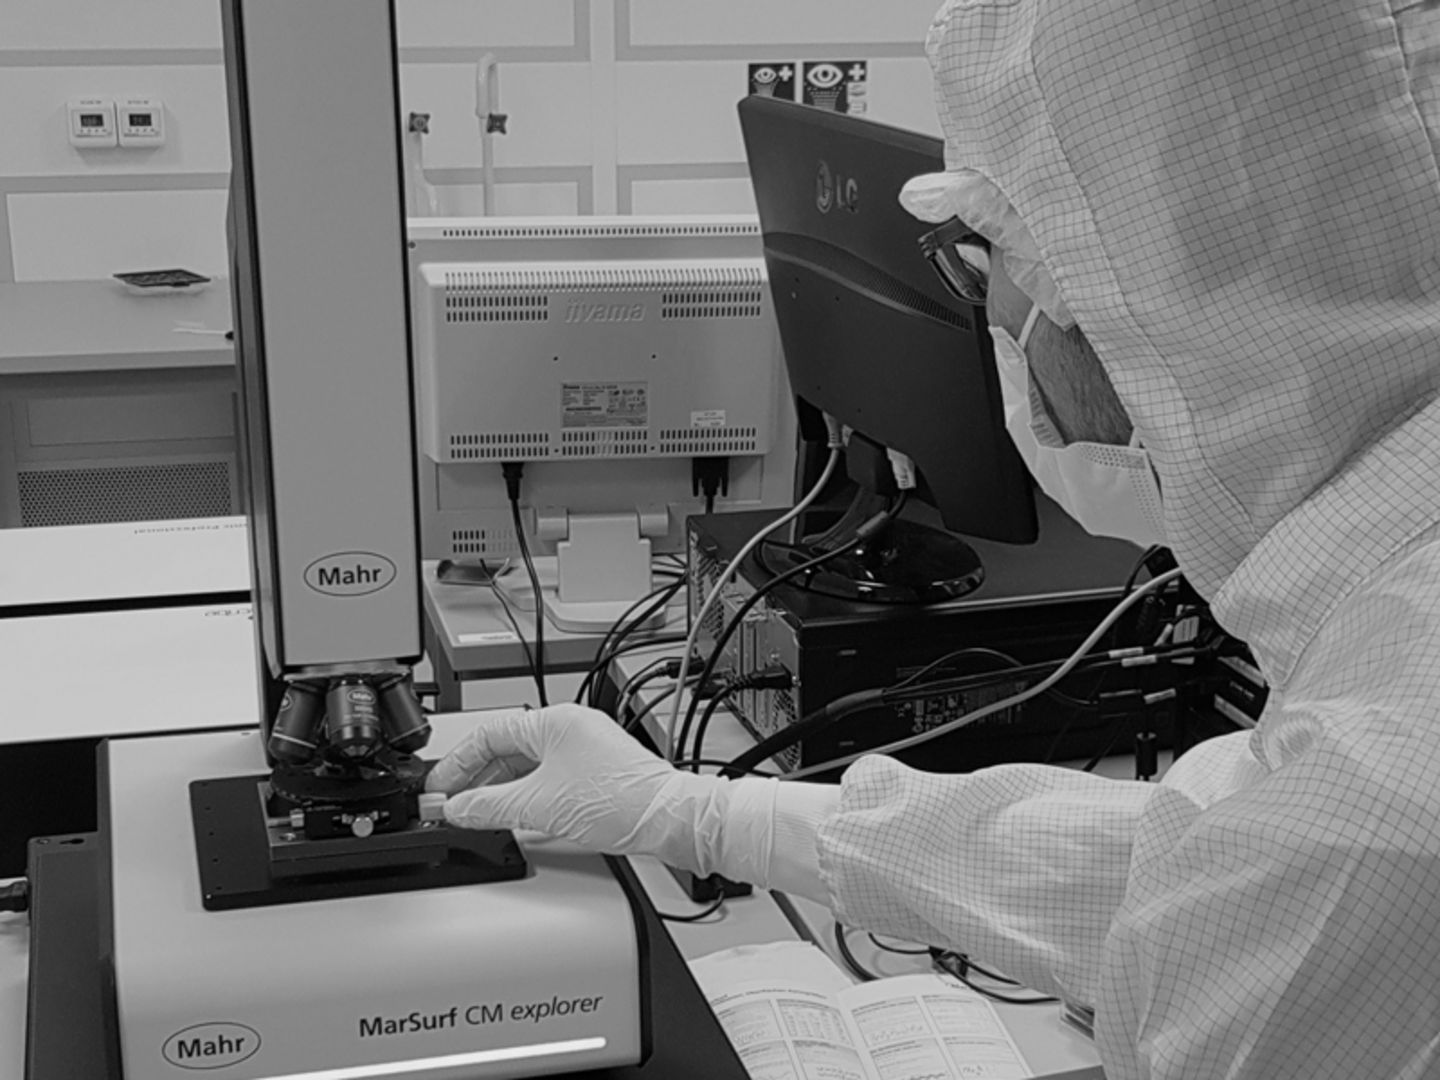
For example, researchers at the Nanostructure Service Laboratory of the Karlsruhe Institute of Technology (KIT) use a MarSurf CM explorer to inspect such surfaces. The high-resolution confocal microscope from Mahr delivers 3D measurements in just a few functional steps and analyzes these surfaces three-dimensionally – contact-free, material-independent and fast. Researchers are using the instrument to investigate micro-arrays such as 3D optical devices, molecularly functionalizable 3D scaffolds and other applications in the micrometer or submicrometer range. In this way, they are advancing this resource-saving process for manufacturing complex components in a targeted manner.

Generating huge amounts of data
Metrology is also essential for processes that work with artificial intelligence (AI) – albeit in a completely different way. This is illustrated by the example in the "MuPro2" research project at the Chair of Reliability Engineering and Risk Analysis (LZR) at the University of Wuppertal: A manufacturer of high-quality kitchen knives commissioned the chair to launch an automated, maximally reliable control process for the quality of the blades. The knives are forged from steel alloys, ground, finished and tested. From blade tip to bolster, every detail must be right down to the micrometer.
To enable AI-supported image evaluation of the knife surfaces, precise 3D measurements were required first. This is because the cameras for image evaluation must reliably detect defects and "learn" them beforehand via AI. Huge amounts of data were required for this.

Algorithm decides on surface quality
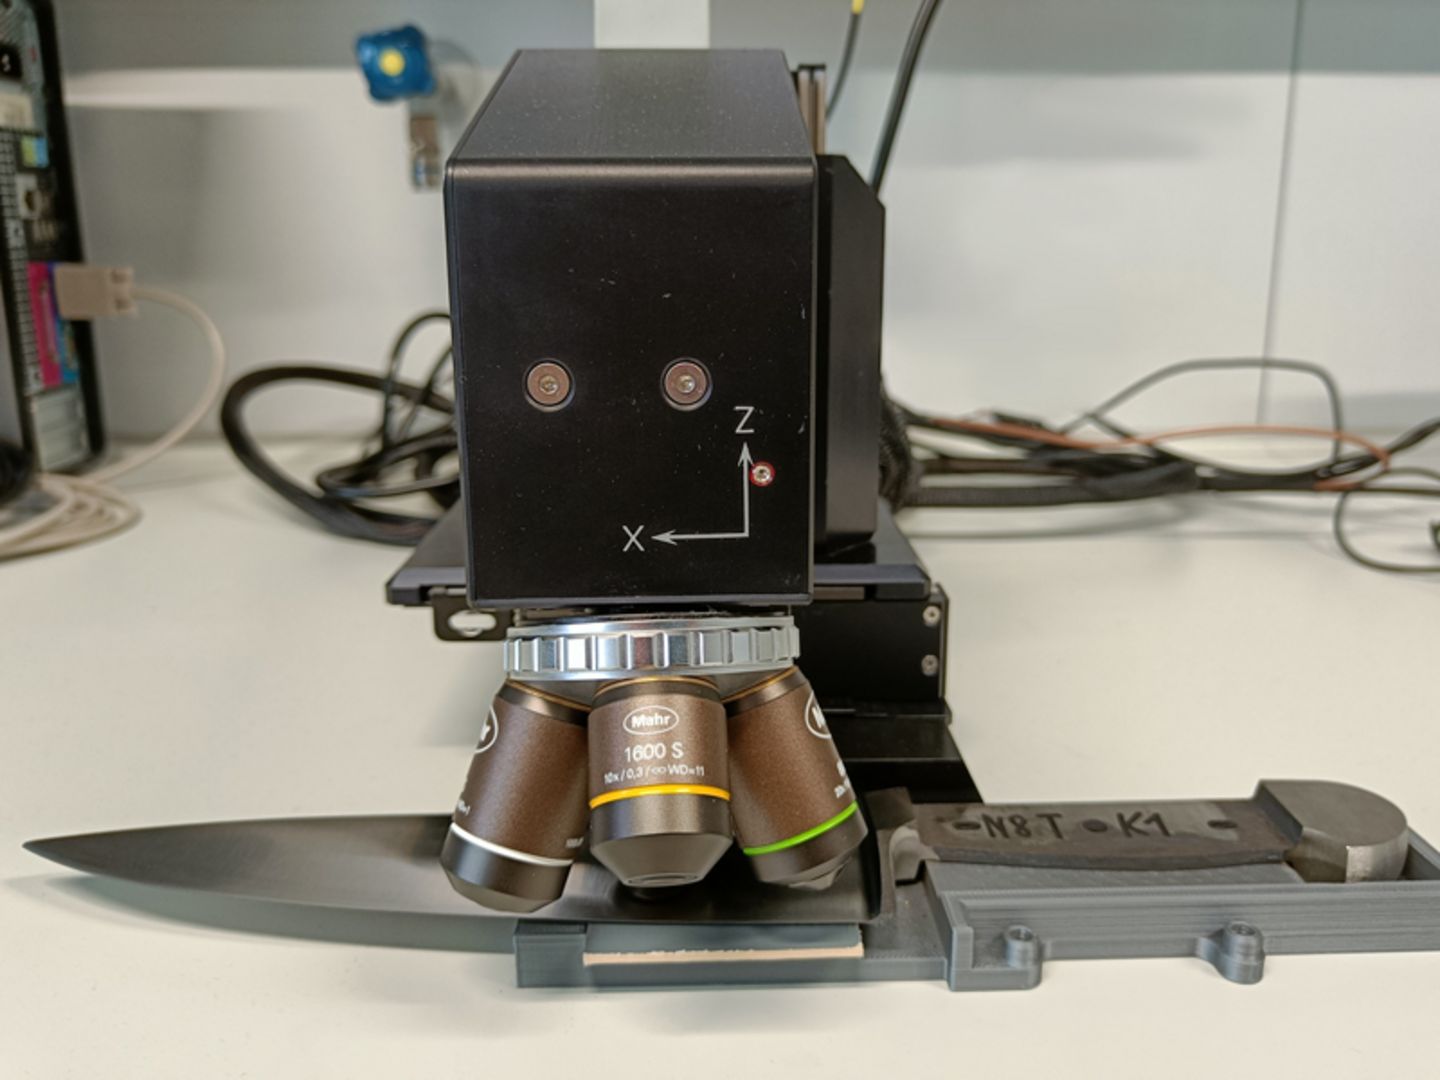
In order to generate surface data, metrology specialist Mahr also came into play here with a MarSurf CM mobile. The 3D measuring device can be used to perform roughness and geometry measurements as well as analyses of 3D structures; the measuring time of the device is between five and ten seconds. The LZR team used the evaluations from the mobile measuring device to feed, train and evaluate several machine learning algorithms. In the process, the algorithm alone decided on the surface quality of the blades. Result: The reliability of the algorithm was extremely high, with a rate of almost 100 percent using the optical 3D microscope. The human eye, which functions/perceives depending on lighting conditions and an individual's daily form, can be replaced by an extremely reliable control system that never tires. Employees can turn their attention to less repetitive tasks.
Conclusion: Regardless of whether conventional production methods or completely digitalized processes are used – the quality must be right. That means metrology remains indispensable. And just as most industrial processes have become digitalized, metrology has long since done the same. It can be integrated directly and, depending on the application, fully automated into Industry 4.0 processes. And so the portfolio of metrology specialist Mahr now ranges from manual calipers to high-resolution 3D measurement technology for countless applications.


