With AI on a knife's edge

Knives, blades and other cutlery have been produced in Solingen for centuries. Even today, around 90 percent of German cutlery and flatware manufacturers come from the city in the Bergisches Land region, which has had the official name affix "Klingenstadt" since 2012.
In most cases, the quality of these metal goods is checked by the human eye or simply by finger testing. But that could soon change: The research project "MuPro2" at the Chair of Reliability Engineering and Risk Analysis (LZR) at the University of Wuppertal has spent more than three years looking at how quality control can be carried out fully automatically using artificial intelligence (AI) – and thus completely independently of the human factor.
From the tip of the blade to the bolster
As part of the project, a manufacturer of high-quality kitchen knives commissioned the chair to launch an automated, 100 percent reliable surface quality control process. The knives are forged from different steel alloys, ground, finished and inspected – up to 55 manual work steps take place, including shipping, and from the tip of the blade to the bolster, every detail must be right down to the micrometer.
The research team led by Dr.-Ing. Marcin Hinz, senior engineer at the Wuppertal chair of Professoer Stefan Bracke, has already been working on the practical application of artificial intelligence and machine learning for ten years. At the LZR, they are primarily involved in research projects, industrial cooperation and courses on complex technical products and production processes. The researchers focus on data analysis in product development and manufacturing.

Learning on the basis of huge amounts of data
"In order to obtain the relevant information for an AI-supported image evaluation of the knife surfaces, we first needed precise 3D measurements," explains Hinz. This is because the cameras for image evaluation must be able to reliably detect defects and "learn" them beforehand through AI. Huge amounts of data are required for this.
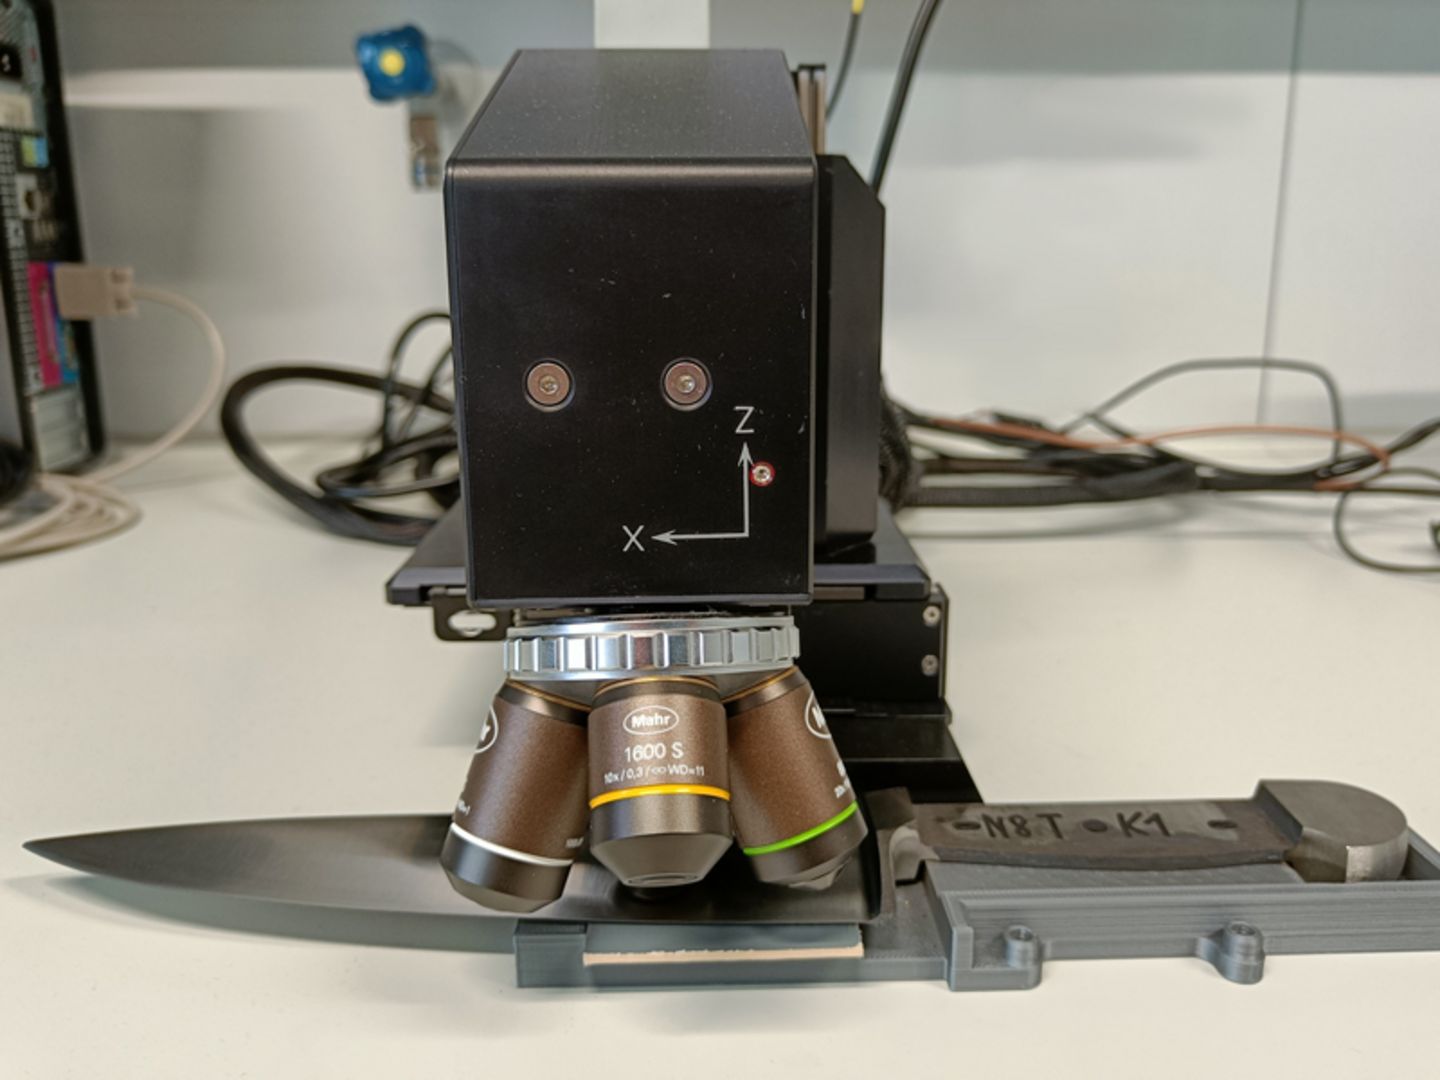
In order to generate surface data, metrology specialist Mahr came into play. Mahr's GAM 3D Surface business unit in Oberhausen provided the researchers with a MarSurf CM mobile for two weeks to measure the surfaces of the knives for roughness using 3D scan.
The optical measurement system of Mahr's MarSurf CM mobile is based on confocal technology, and its typical measurement time is between five and ten seconds. The 3D measuring device can be used to perform ISO-compliant roughness measurements, analysis of 3D structures and measurement of geometries. The evaluation of structuring and volume parameters is automatic.
Algorithm decides on quality
For the knife project, the scientists developed two test setups with cameras for different knife types in each case. The first test rig was equipped with a standard camera system, the second additionally with a macro lens and two LED spotlights. The test specimens were knife blanks that were already shaped and finely ground – "plated," as the Solingen technical term for this is. In total, more than 2,500 knives were to be tested, 1,750 of them with the Mahr device.
In order to be able to use the corresponding Mahr evaluation software, an algorithm was written especially for the university. Several machine learning algorithms were fed with this data, trained and evaluated. In the process, the algorithm alone decided on the quality.
Hit rate of almost 100 percent
As Marcin Hinz reports, the test setups produced the desired results: "The reliability of the algorithm was extremely high, the rate was 80 percent with tactile measuring equipment, and almost 100 percent with 3D equipment."
The knife manufacturer is now looking into the possibility of installing such intelligent camera systems at upstream production stations in order to be able to intervene in ongoing processes if necessary – and thus specifically avoid scrap and reworking.
In addition, there was also the short-term consideration of integrating the measuring technology directly into production, but this was ruled out for cost reasons. "There is a lot of dust, dirt, oil residues, chips in the production line – it would be much too bad for the device. However, the CM mobile has supported us perfectly in building up a solid basic knowledge," says Hinz.
Originally, the project was not intended to be that big and was only a small study. However, the success and the simple combination of 3D surface analysis, data evaluation and teaching of the algorithm opened up a huge field of research, as Hinz explains. In this respect, one can look forward to follow-up projects.


